DIY GUIDE: Family Christmas Minnie and Mickey Outfits

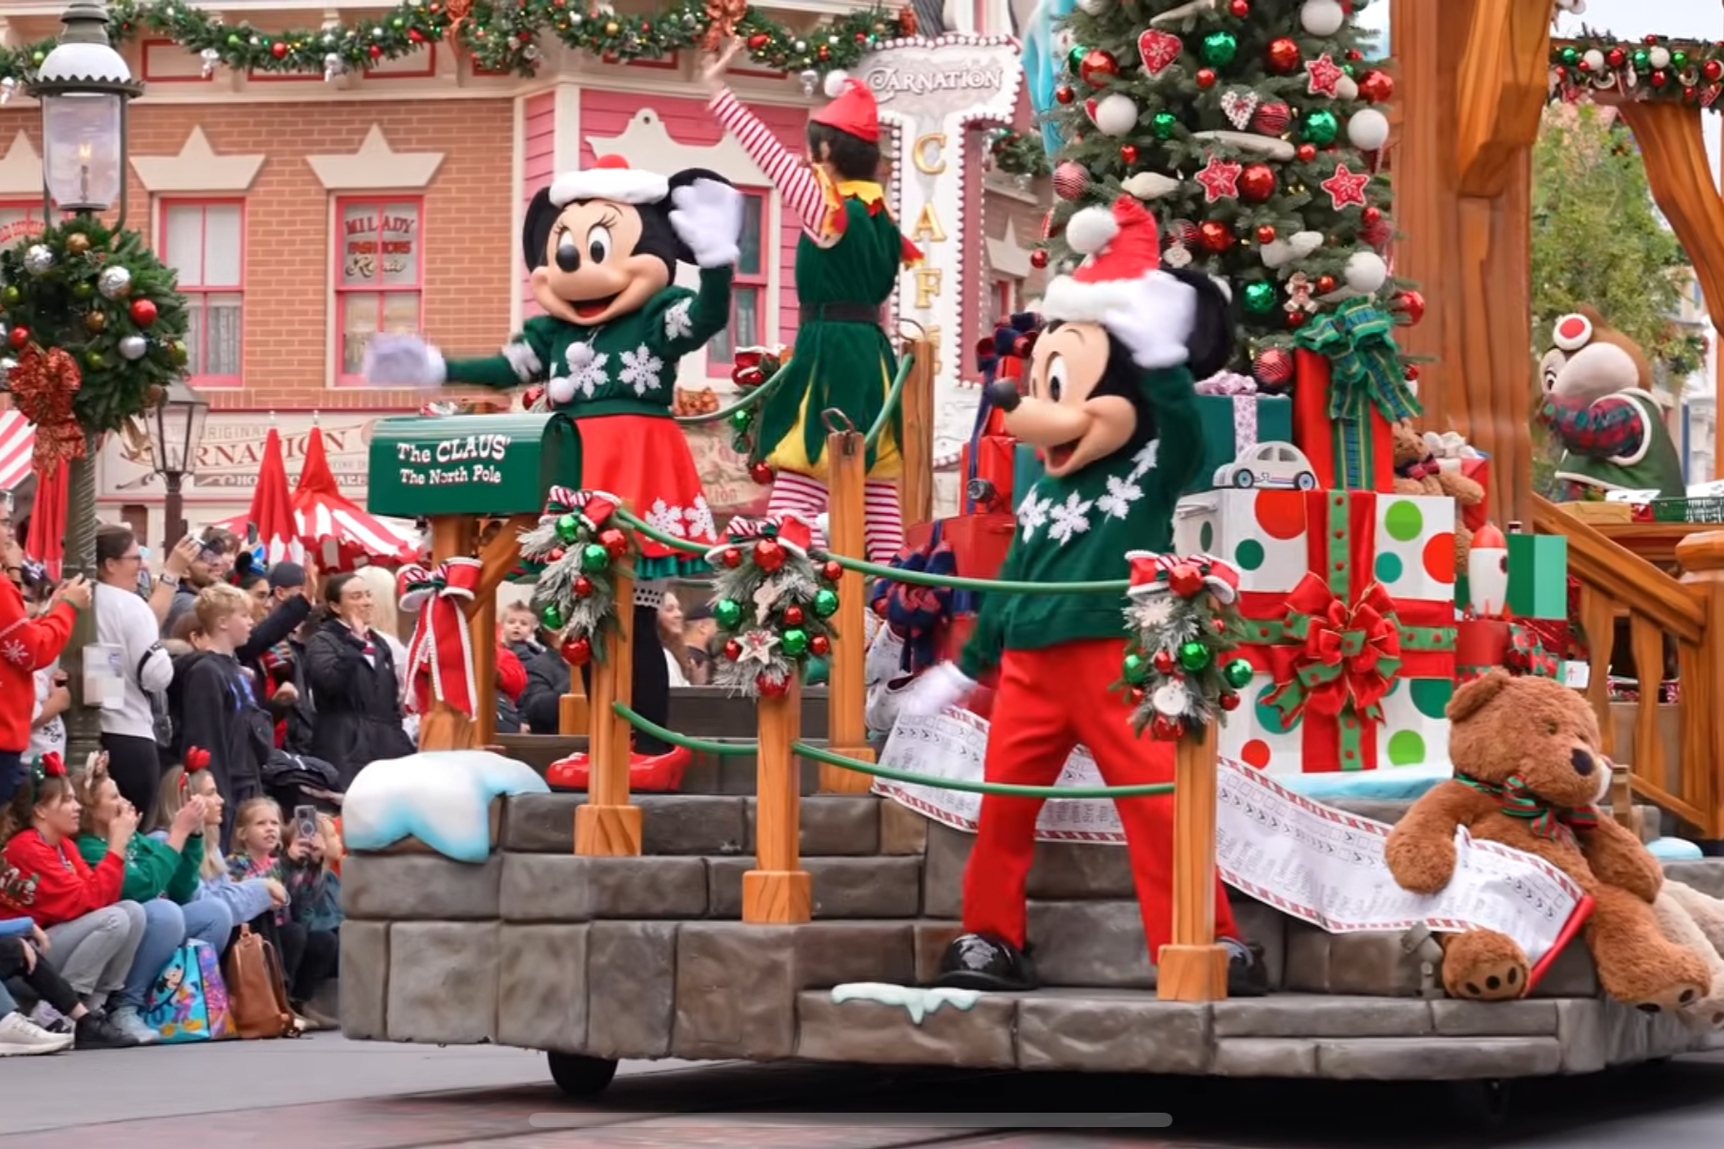
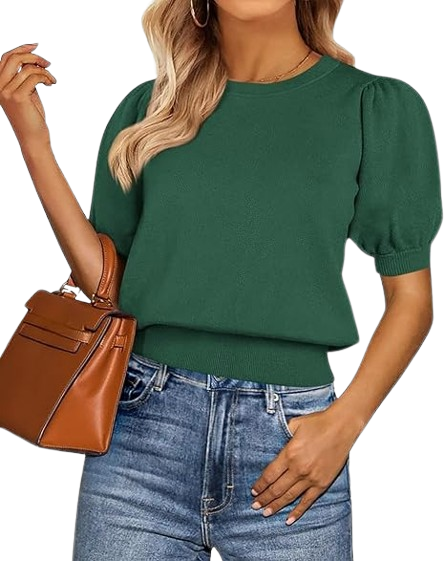
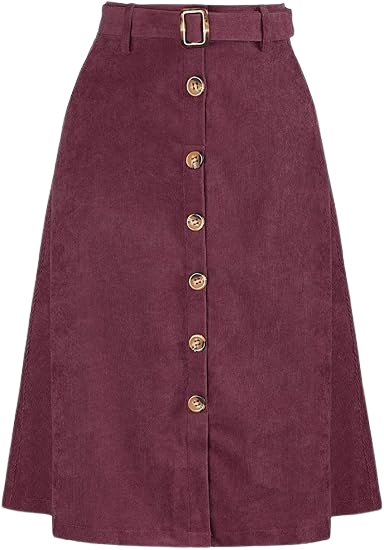
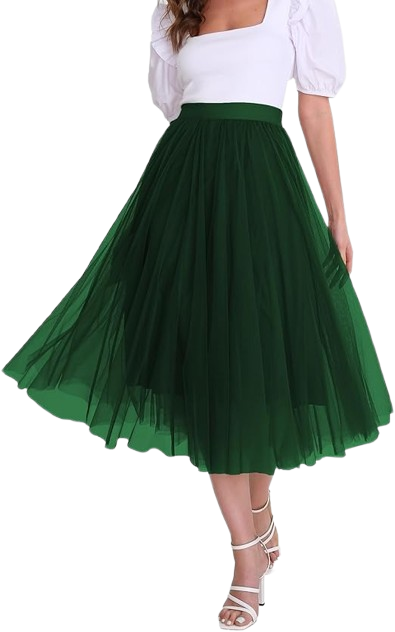
This family Minnie and Mickey Disneybound was created to be easy to make, comfortable to wear, and adorable enough for both park days and holiday photos. Inspired by the Minnie and Mickey outfits from the Disneyland Christmas Parade, this look is less about wearing a full costume and more about creating a subtle, cozy Disneybound that Disney fans recognize immediately. Using simple clothing pieces and Cricut-applied snowflake vinyl, I put together coordinating outfits for myself, my husband, and our one-year-old that felt festive without sacrificing comfort.
In this post, I’m sharing the exact materials, Cricut Maker 3 settings, snowflake sizing, and placement process I used so you can recreate this Christmas Disneybound for your own holiday Disney trip, seasonal outfits, or family photos, or use it as inspiration to create your own version.
Why We Chose a Christmas Minnie and Mickey Disneybound
Before having a baby, we were firmly in the “wait until they’re older” camp when it came to Disney trips. That mindset completely changed after a family celebration at Disney World, where we saw how much our son engaged with the colors, characters, and overall atmosphere. Watching him laugh and react to everything around him turned that trip into one of our favorite memories.
That visit happened around Halloween, and when we got home, we immediately started planning a trip to Disneyland during the holiday season. I already love Disneybounding and dressing up, so when I saw the snowflake sweaters worn by Minnie and Mickey in that year’s Christmas Parade, I knew I wanted to recreate the look in a way that worked for real park days and a family photo shoot.
What Is Disneybounding (and Why Parade Looks Translate Well)
Disneybounding is a way of dressing inspired by Disney characters using everyday clothing rather than costumes. Parade outfits work especially well for Disneybounding because they are already designed with strong color palettes, recognizable details, and seasonal themes that translate easily into wearable outfits.
In this case, the snowflake details from the Christmas Parade made it possible to create a holiday-specific Minnie and Mickey Disneybound that felt festive without being over-the-top.
Prep: Materials to Create this Family Disneybound
Clothing Items:
Tools & Supplies:
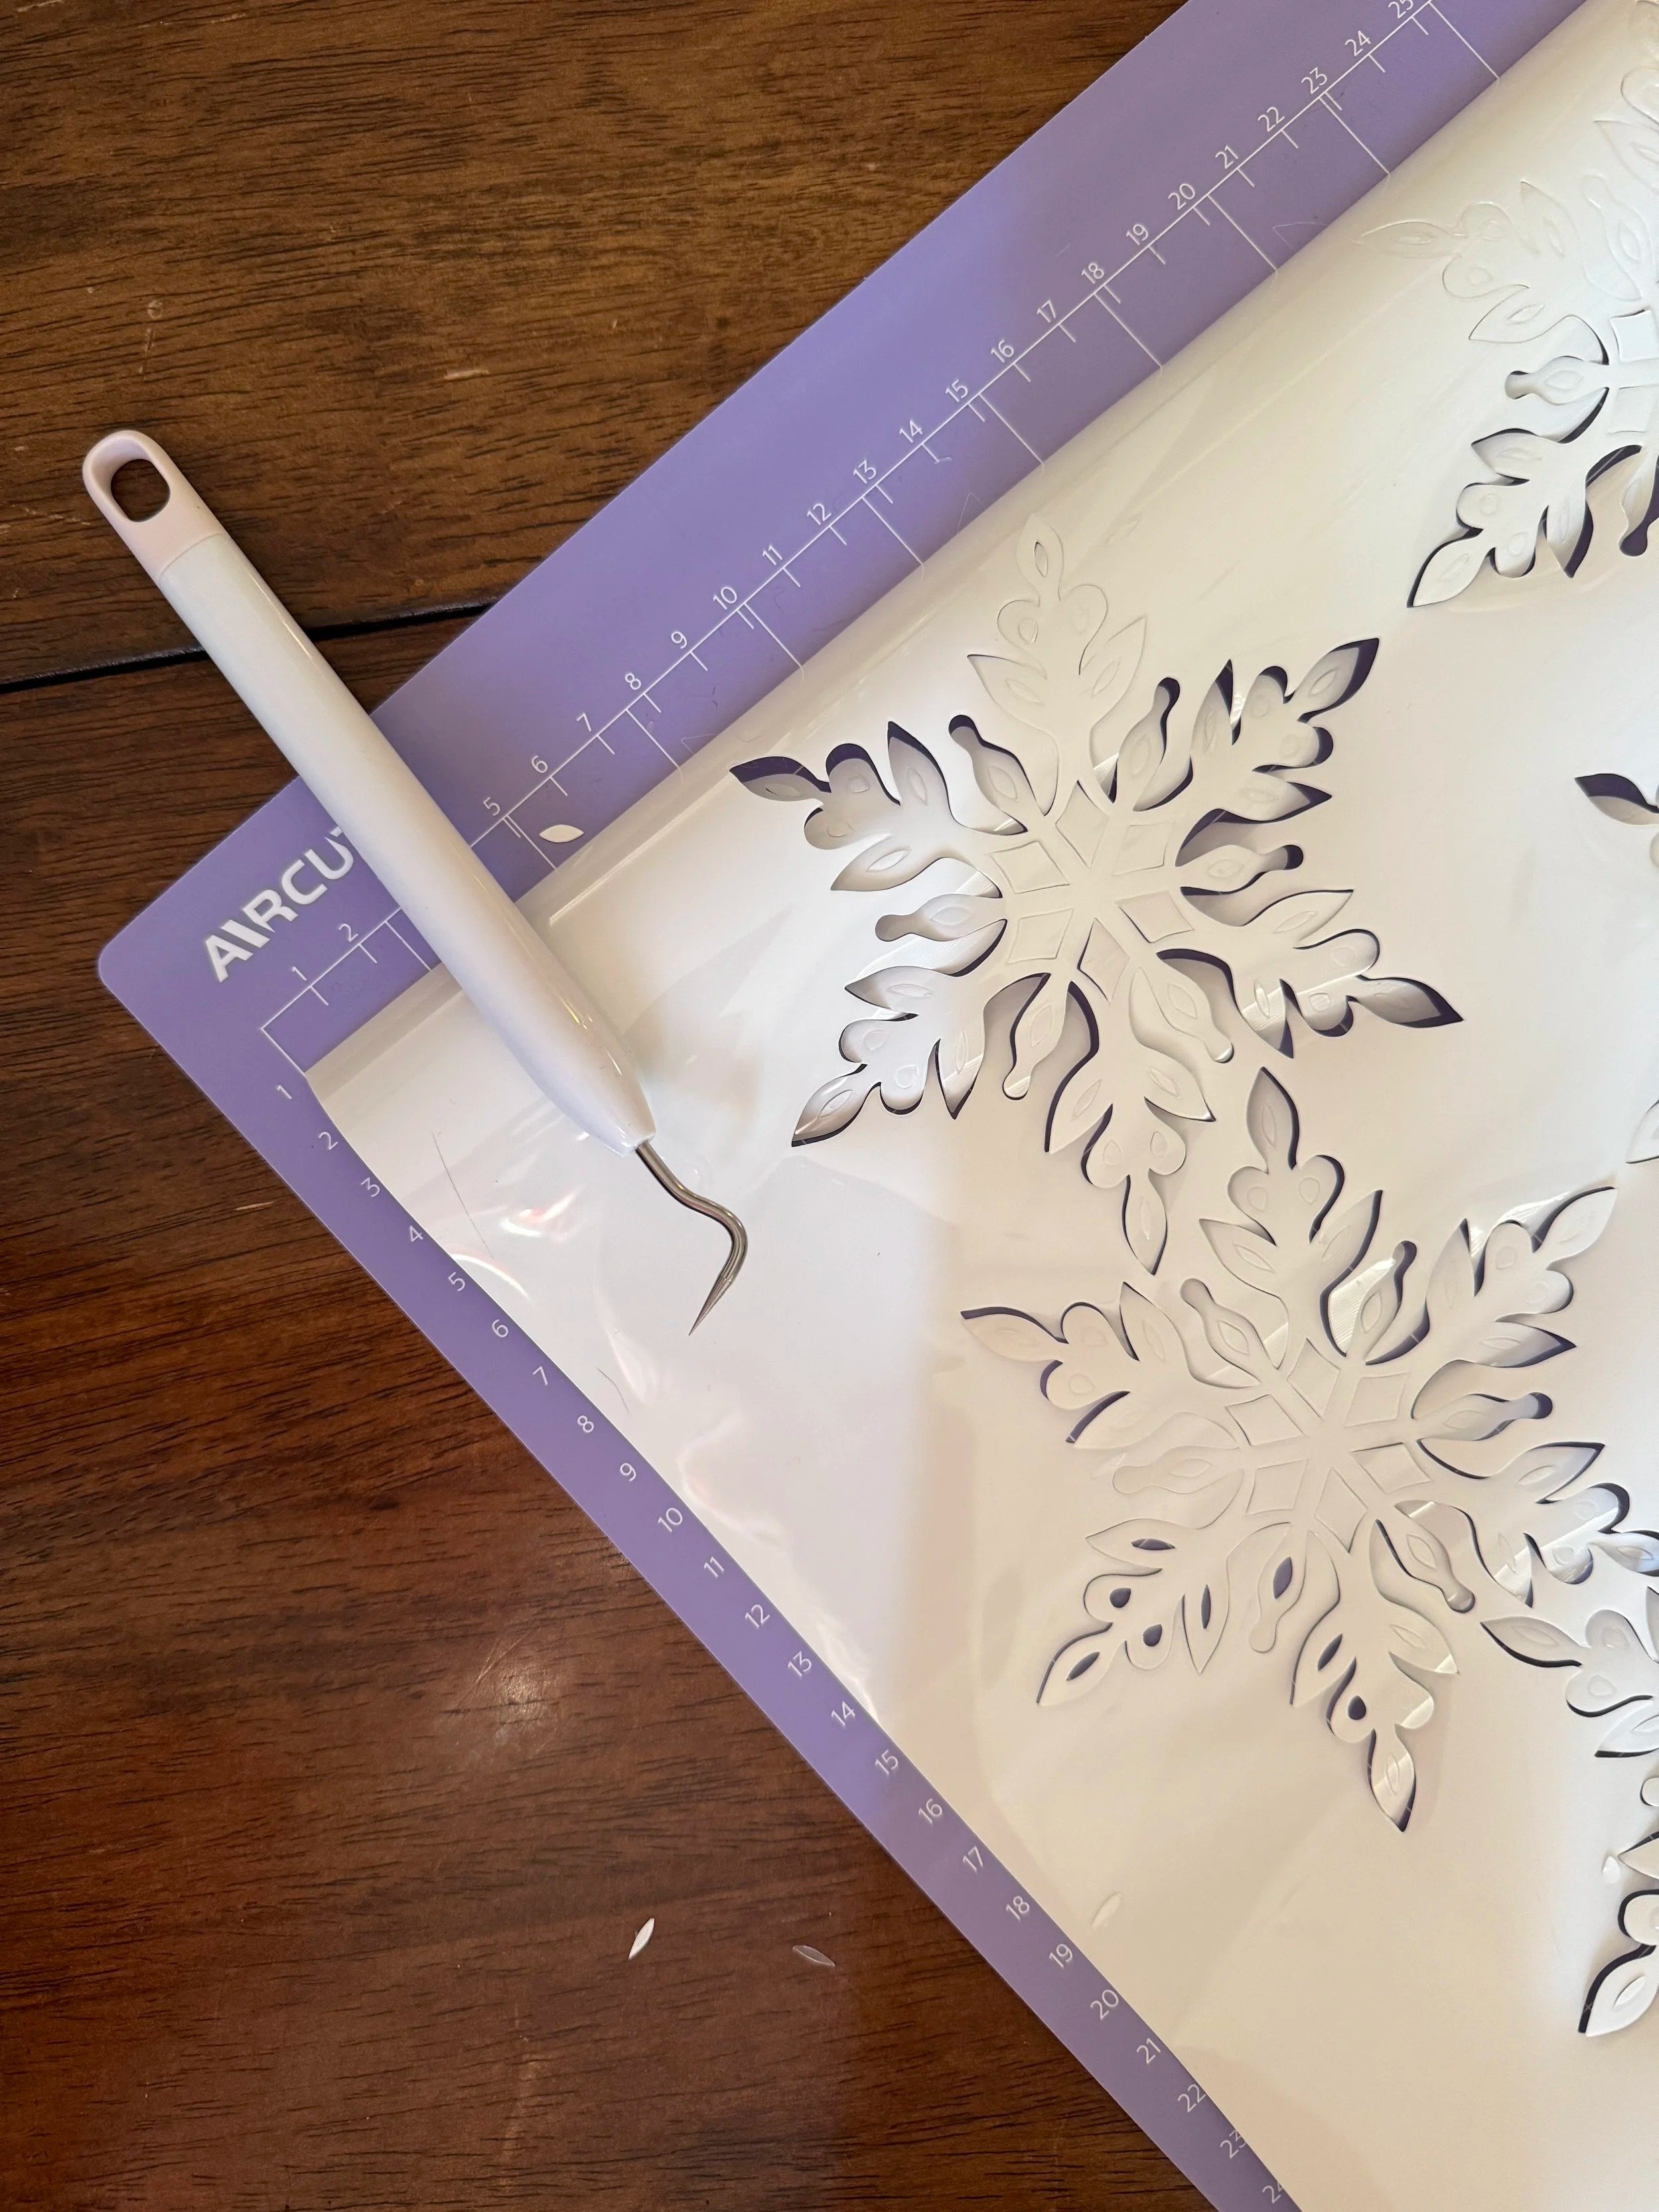
Step 1: Recreate the Snowflake Details
Snowflake Design and Sizing
I used a single snowflake design and scaled it to two sizes in Cricut:
Small snowflake: 2.12 in × 2.45 in
Large snowflake: 4.16 in × 4.81 in
Using one design scaled up and down keeps the look cohesive across adults and baby outfits.

Snowflake Counts by Outfit
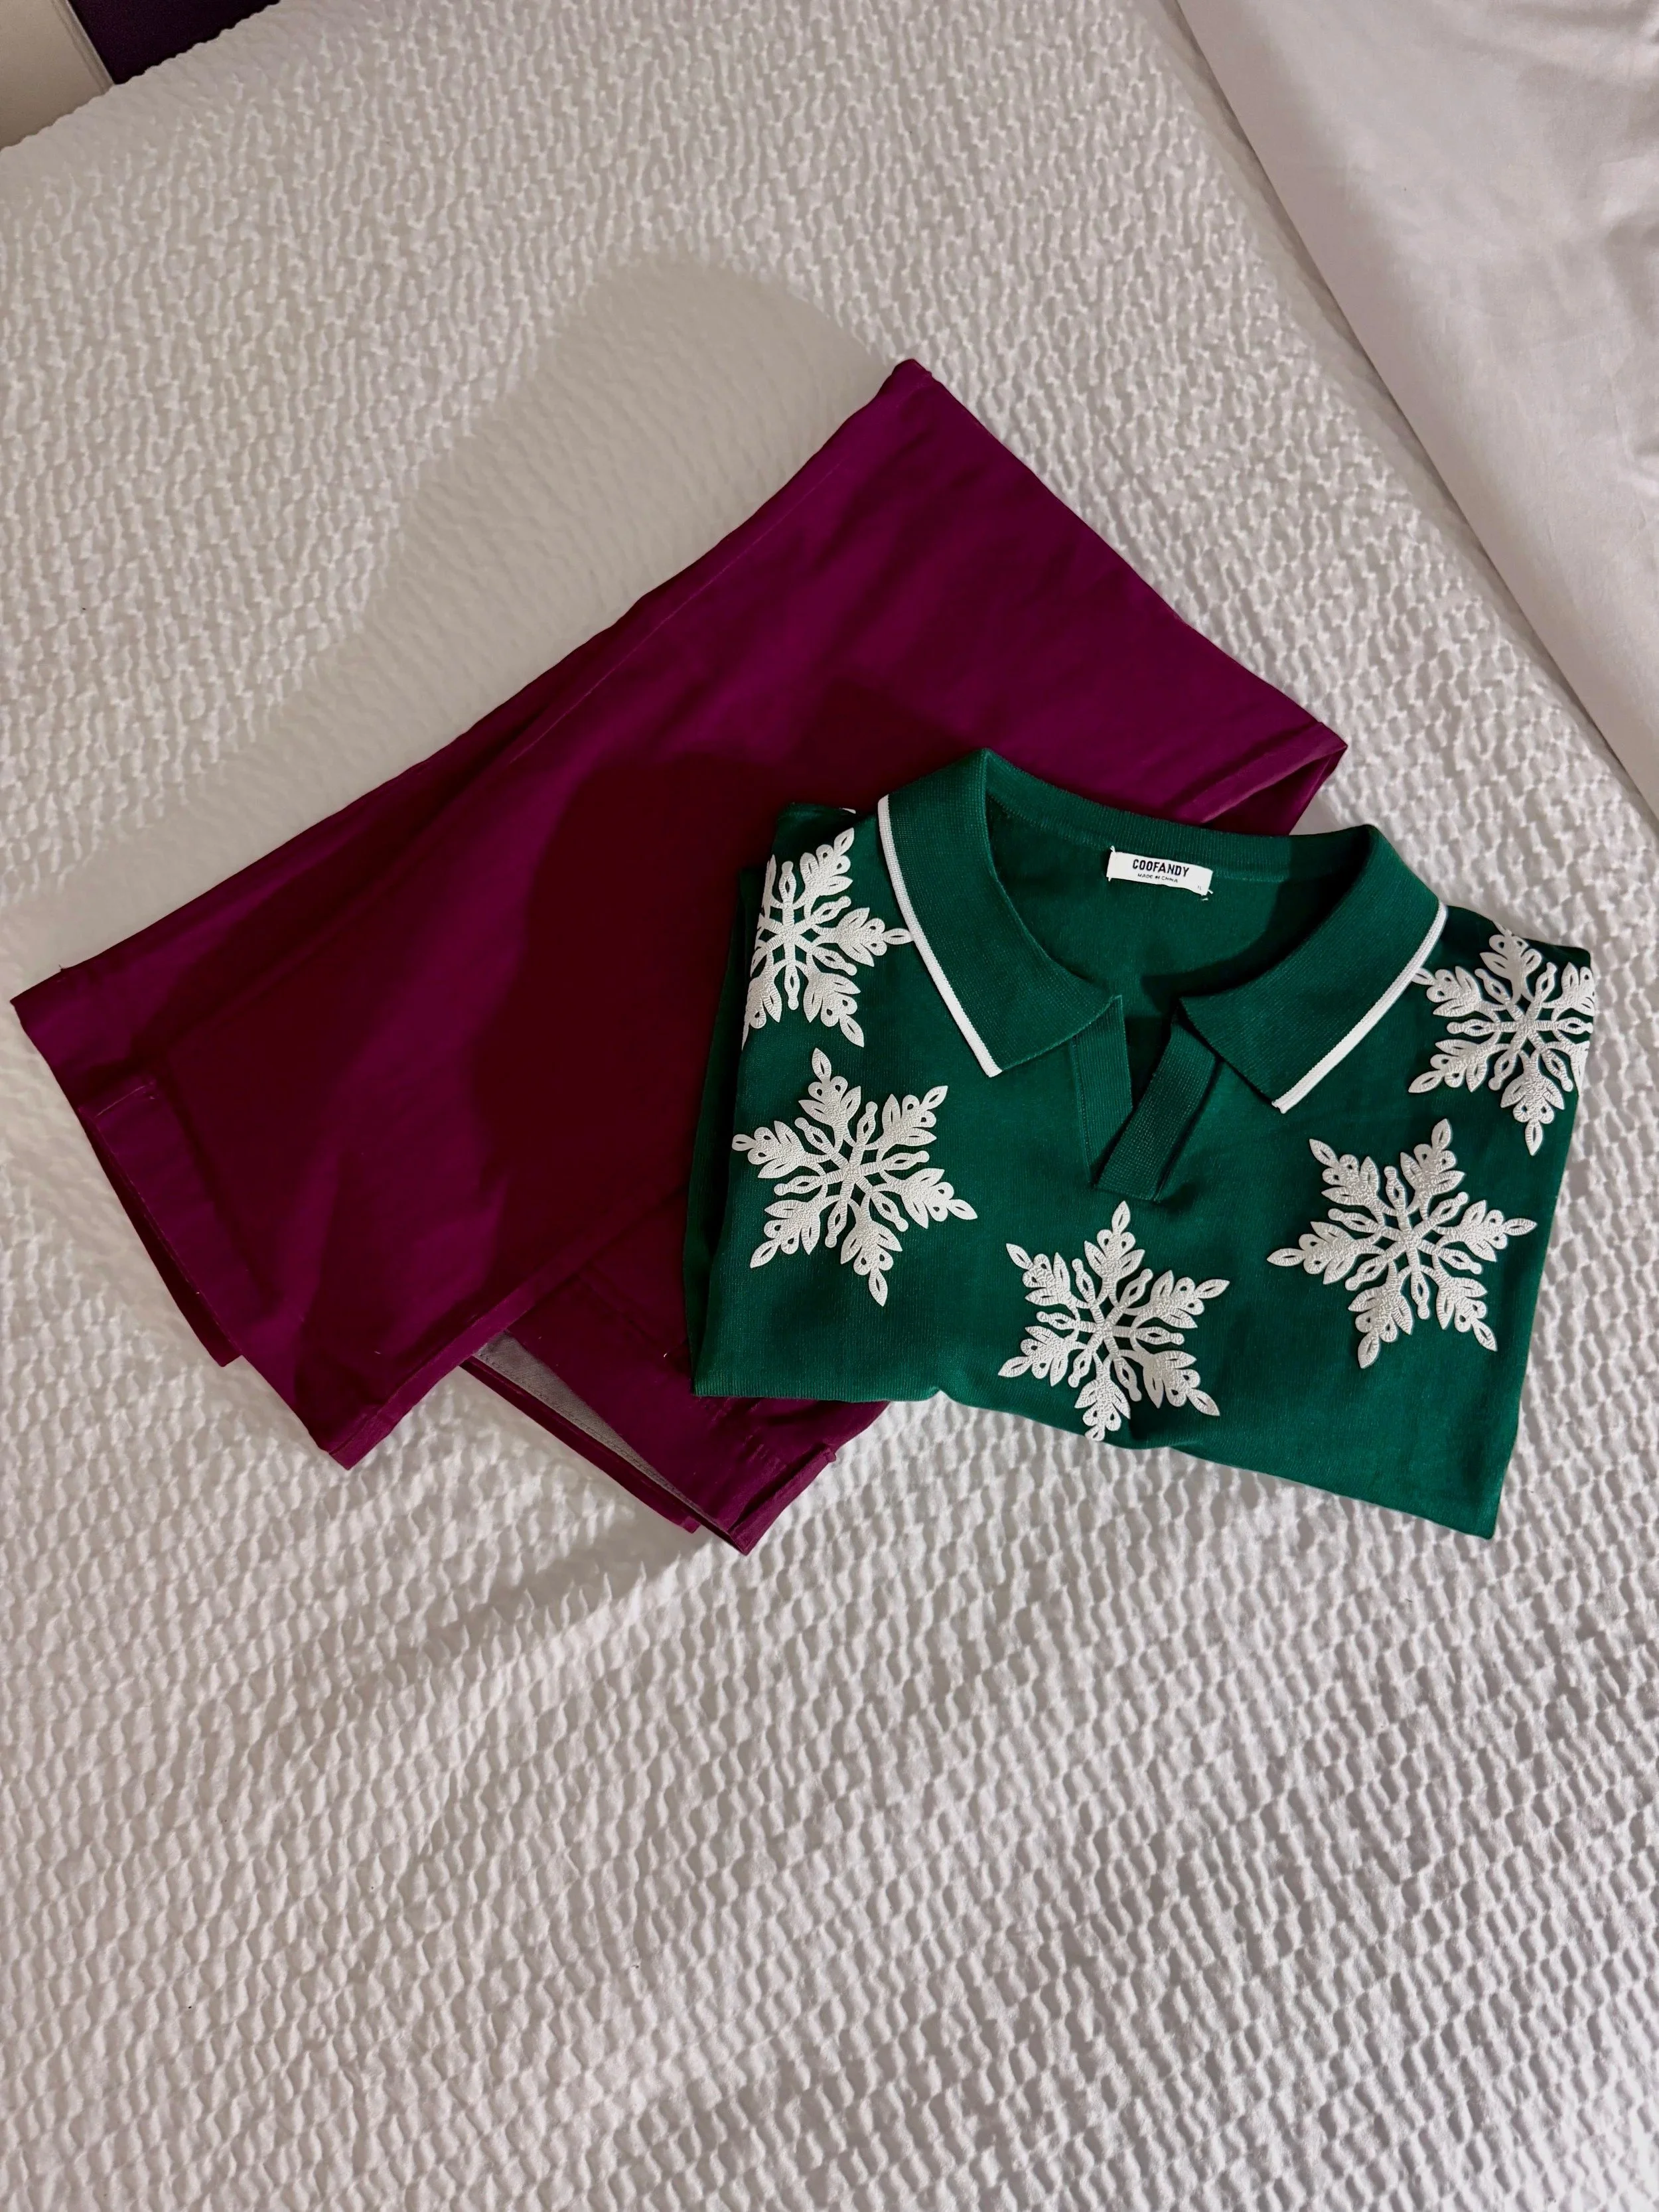
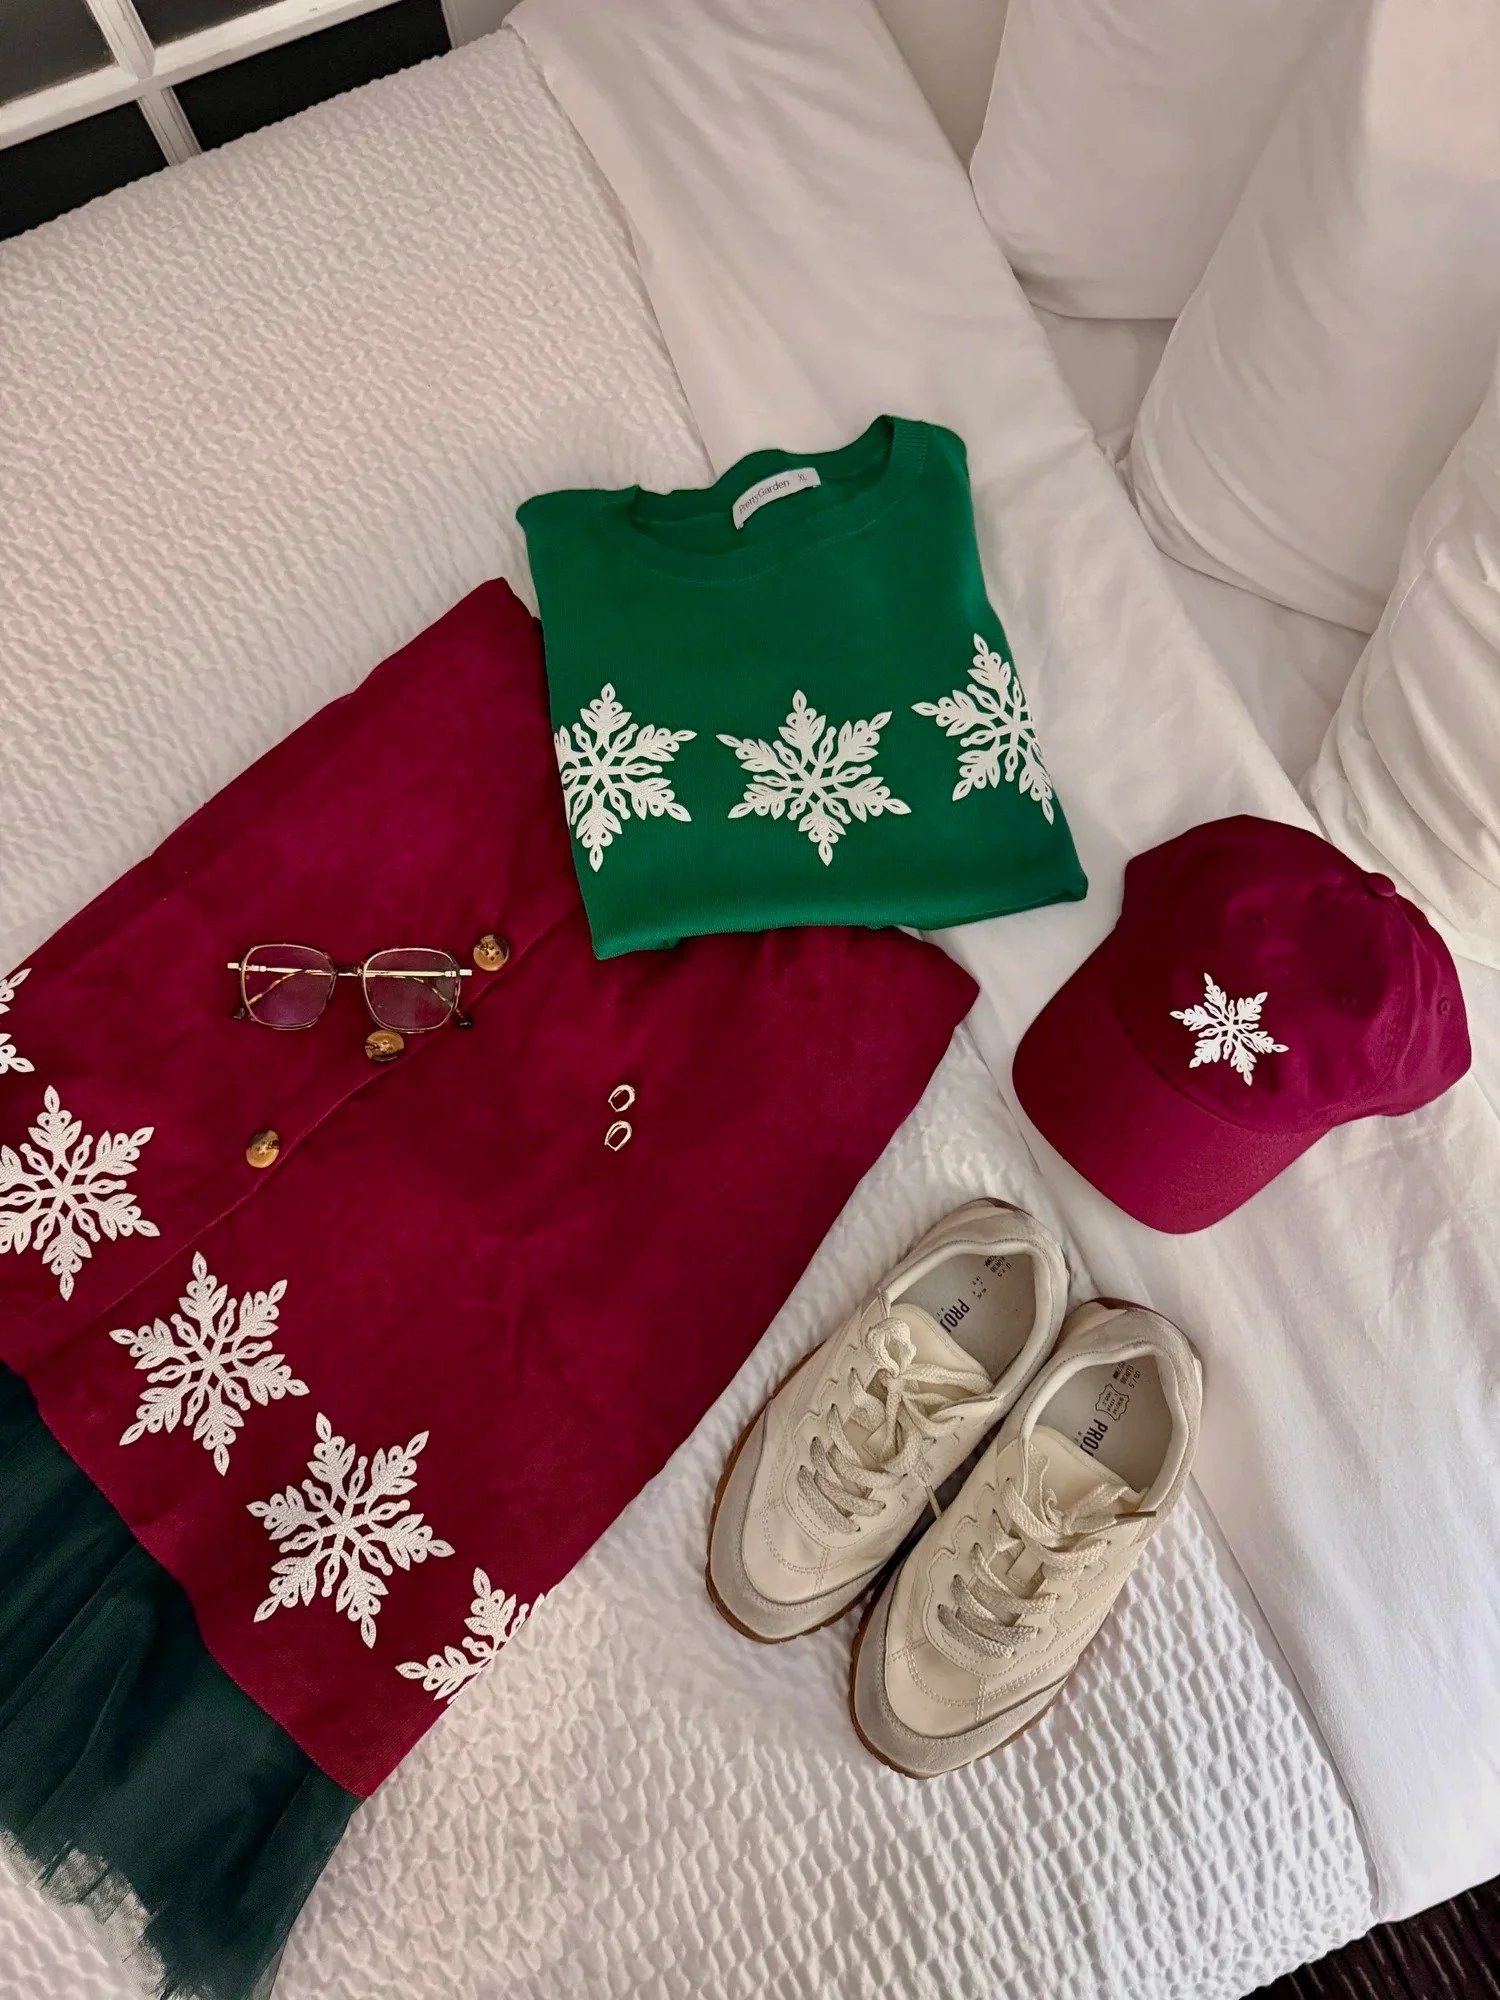
Minnie
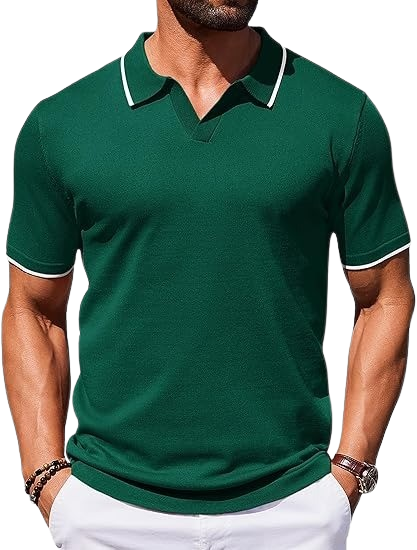
Top: 10 large snowflakes
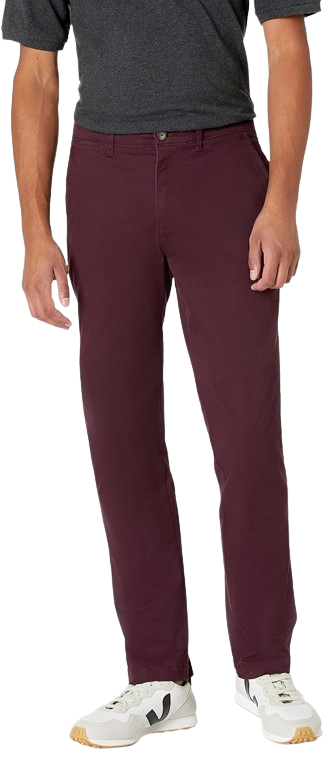
Bottom: 10 large snowflakes
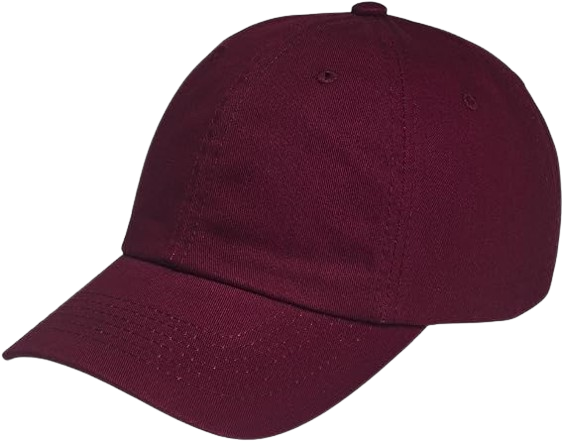
Hat: 1 small snowflake
Mickey
Top: 10 large snowflakes
Bottom: none
Hat: 1 small snowflake
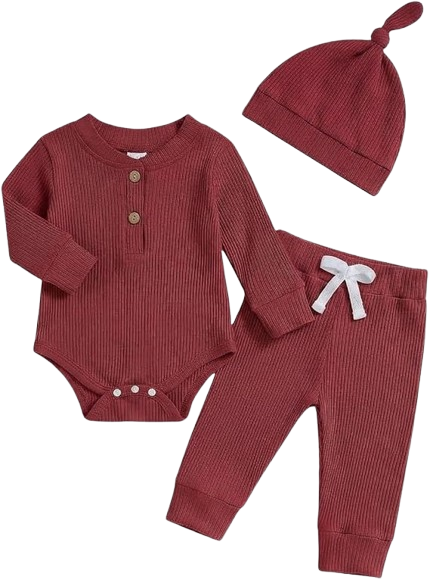
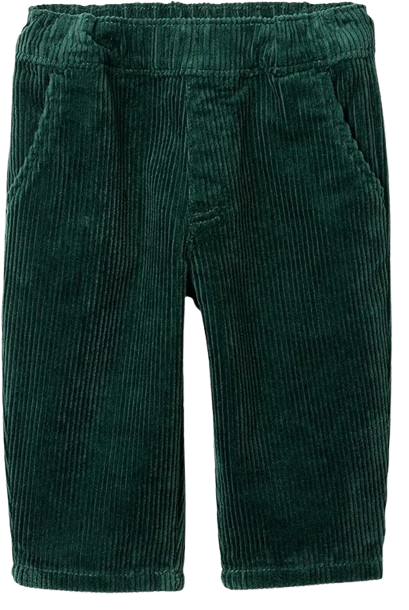
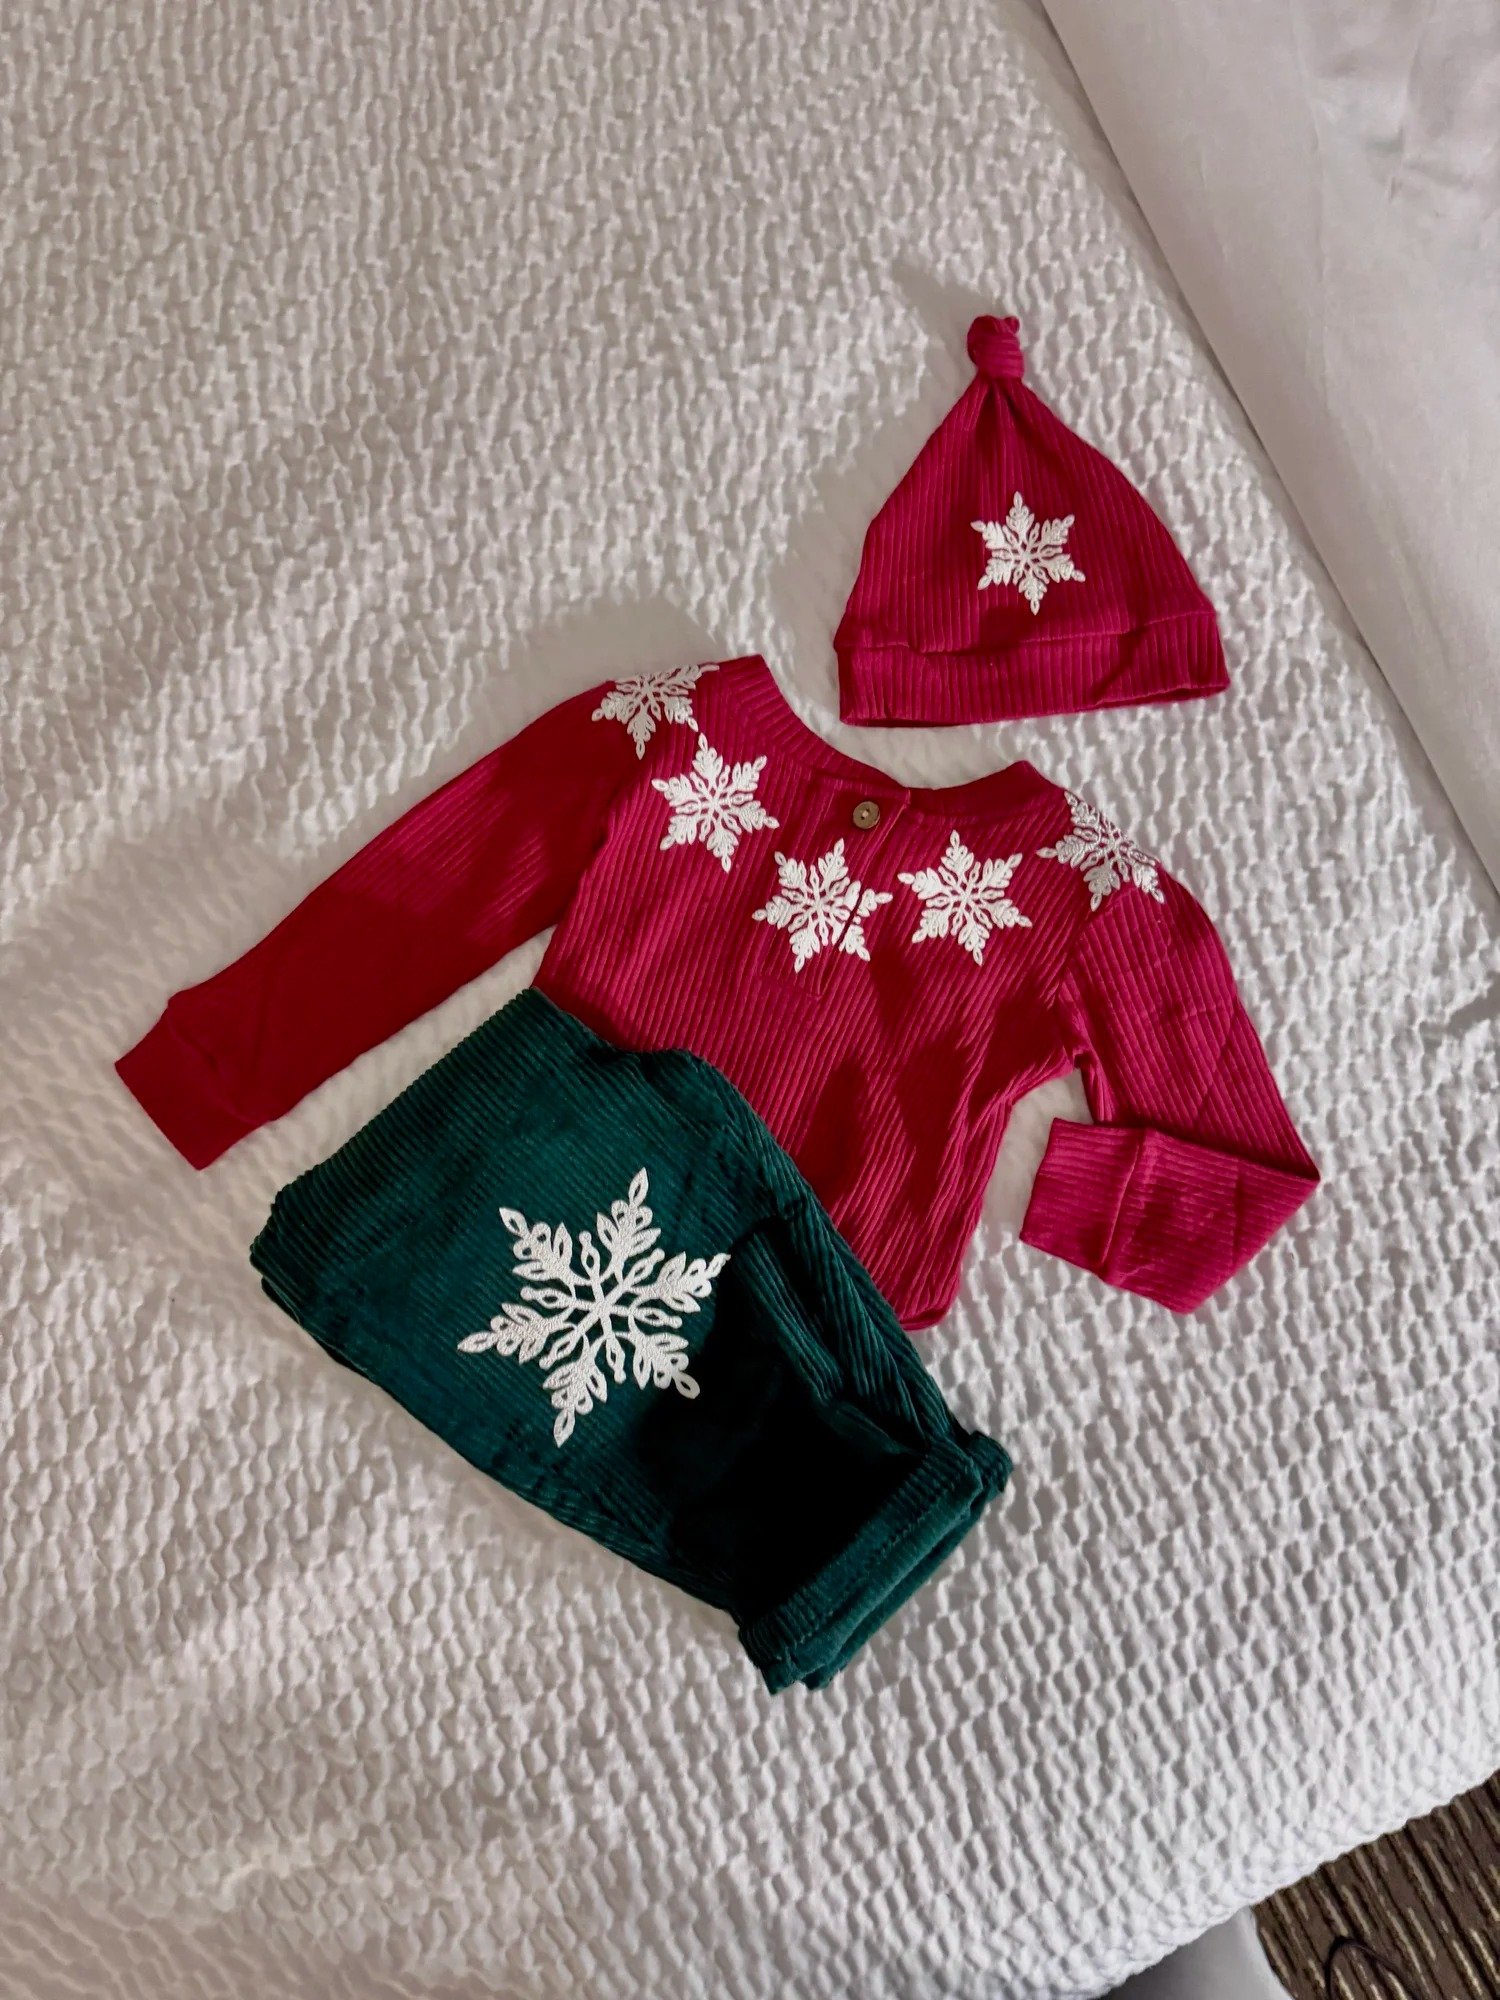
Baby
Top: 8 small snowflakes
Bottom: 2 large snowflakes
Hat: 1 small snowflake
After cutting, I weeded each snowflake and used safety pins to keep track of which ones belonged to each outfit, which made the application process much easier.
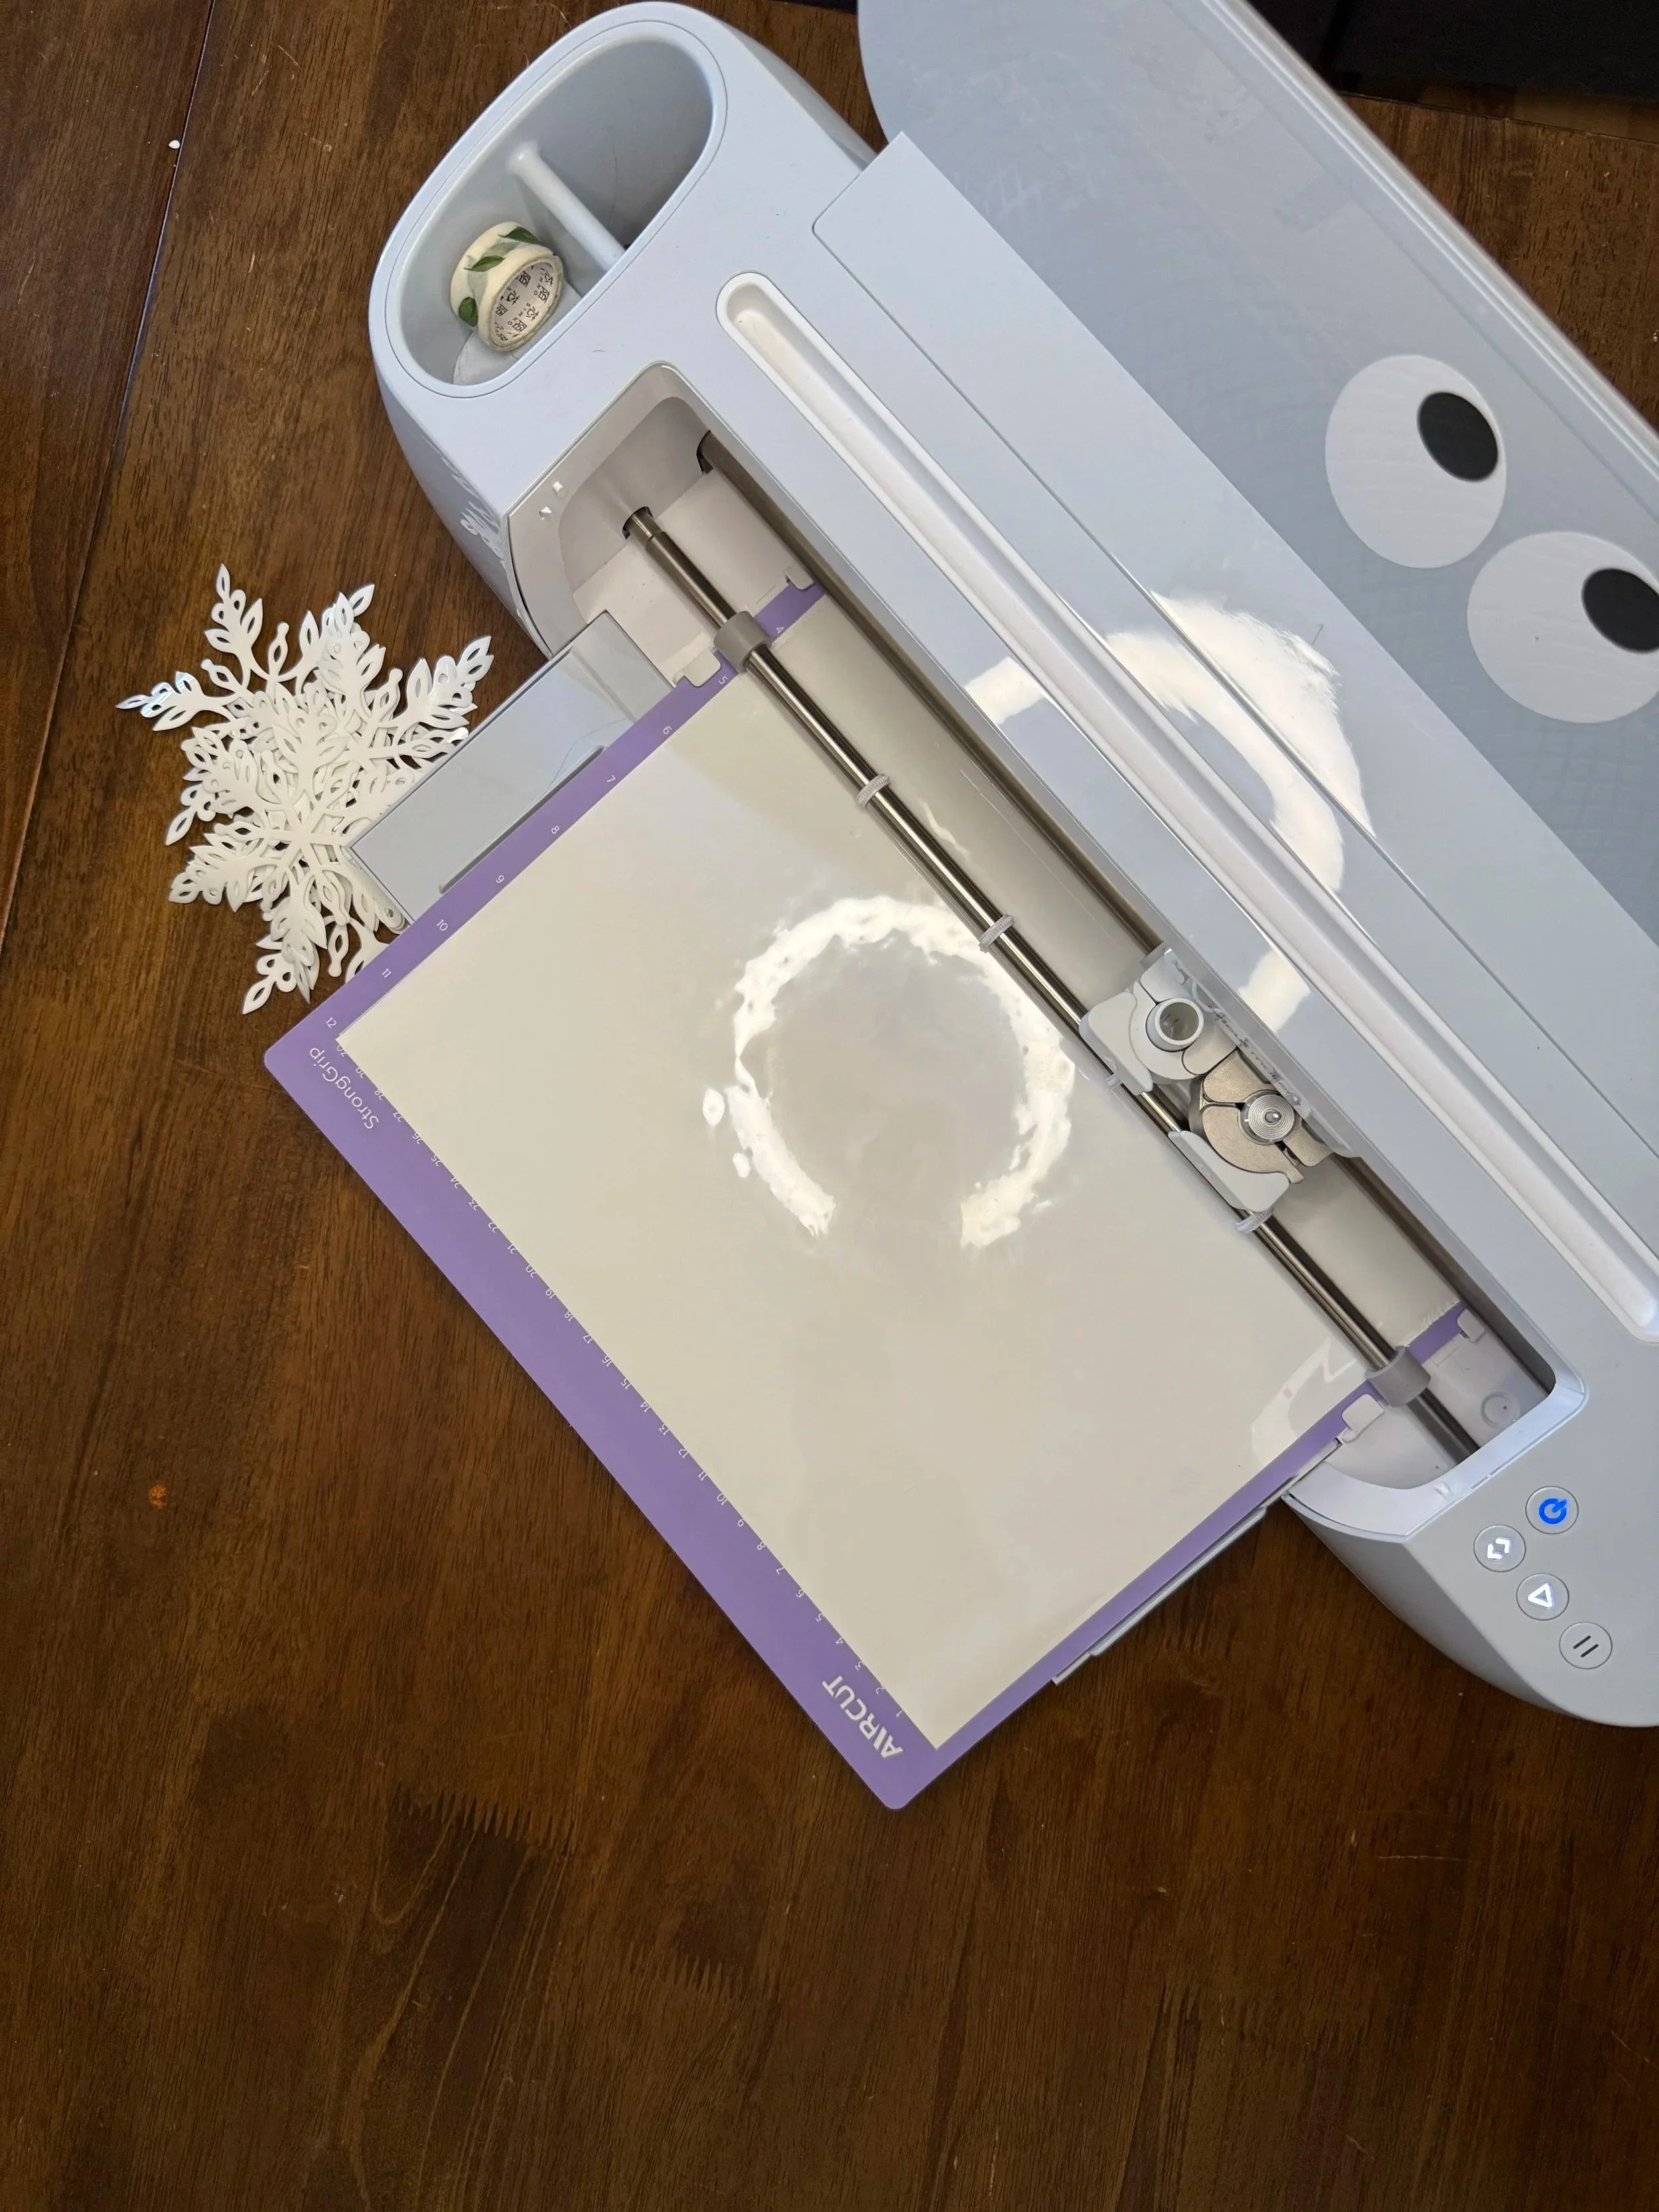
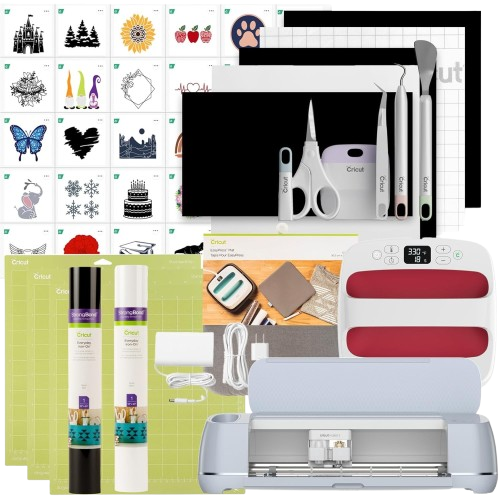
Step 2: Setup the Cricut Maker 3
Material and Mat Setup
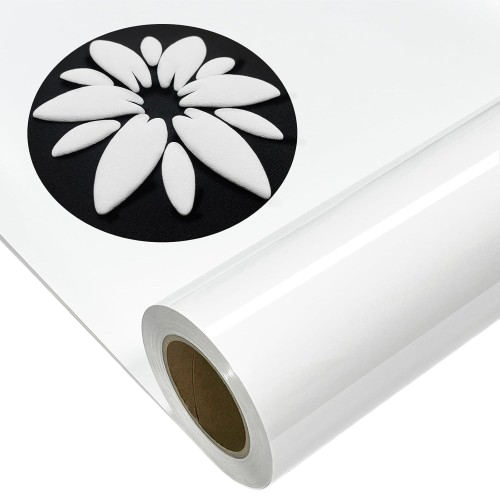
I used a 12 x 12 StrongGrip mat and placed the puff heat transfer vinyl directly onto the mat. For best results, make sure the vinyl is pressed down firmly before cutting.
Cut Pressure and Settings
I used the heavy cardstock (100 lb) preset as a starting point and increased the cut pressure slightly. I do not recommend using more than two multi-cuts. When I tested more multi-cuts, the blade caught and dragged the snowflakes, which caused bending and miss-cuts.
If you experience incomplete cuts, adjust the pressure rather than increasing multi-cuts too aggressively.
Common Issues to Avoid
Too many multi-cuts can distort detailed shapes
Insufficient pressure leads to incomplete cuts
Poor vinyl adhesion to the mat causes shifting during cutting
Step 3: Heat Apply the Snowflakes
Centering and Placement
The easiest way I found to line up the snowflakes was to start by marking the center of the garment with pins. I placed and pressed the center snowflake first, then laid out the remaining snowflakes to gauge spacing before pressing them permanently.
Order of Application
I applied the front snowflakes first, starting with the center and working outward. Once the front was complete, I repeated the same process on the back. This helped keep spacing consistent across the entire garment.
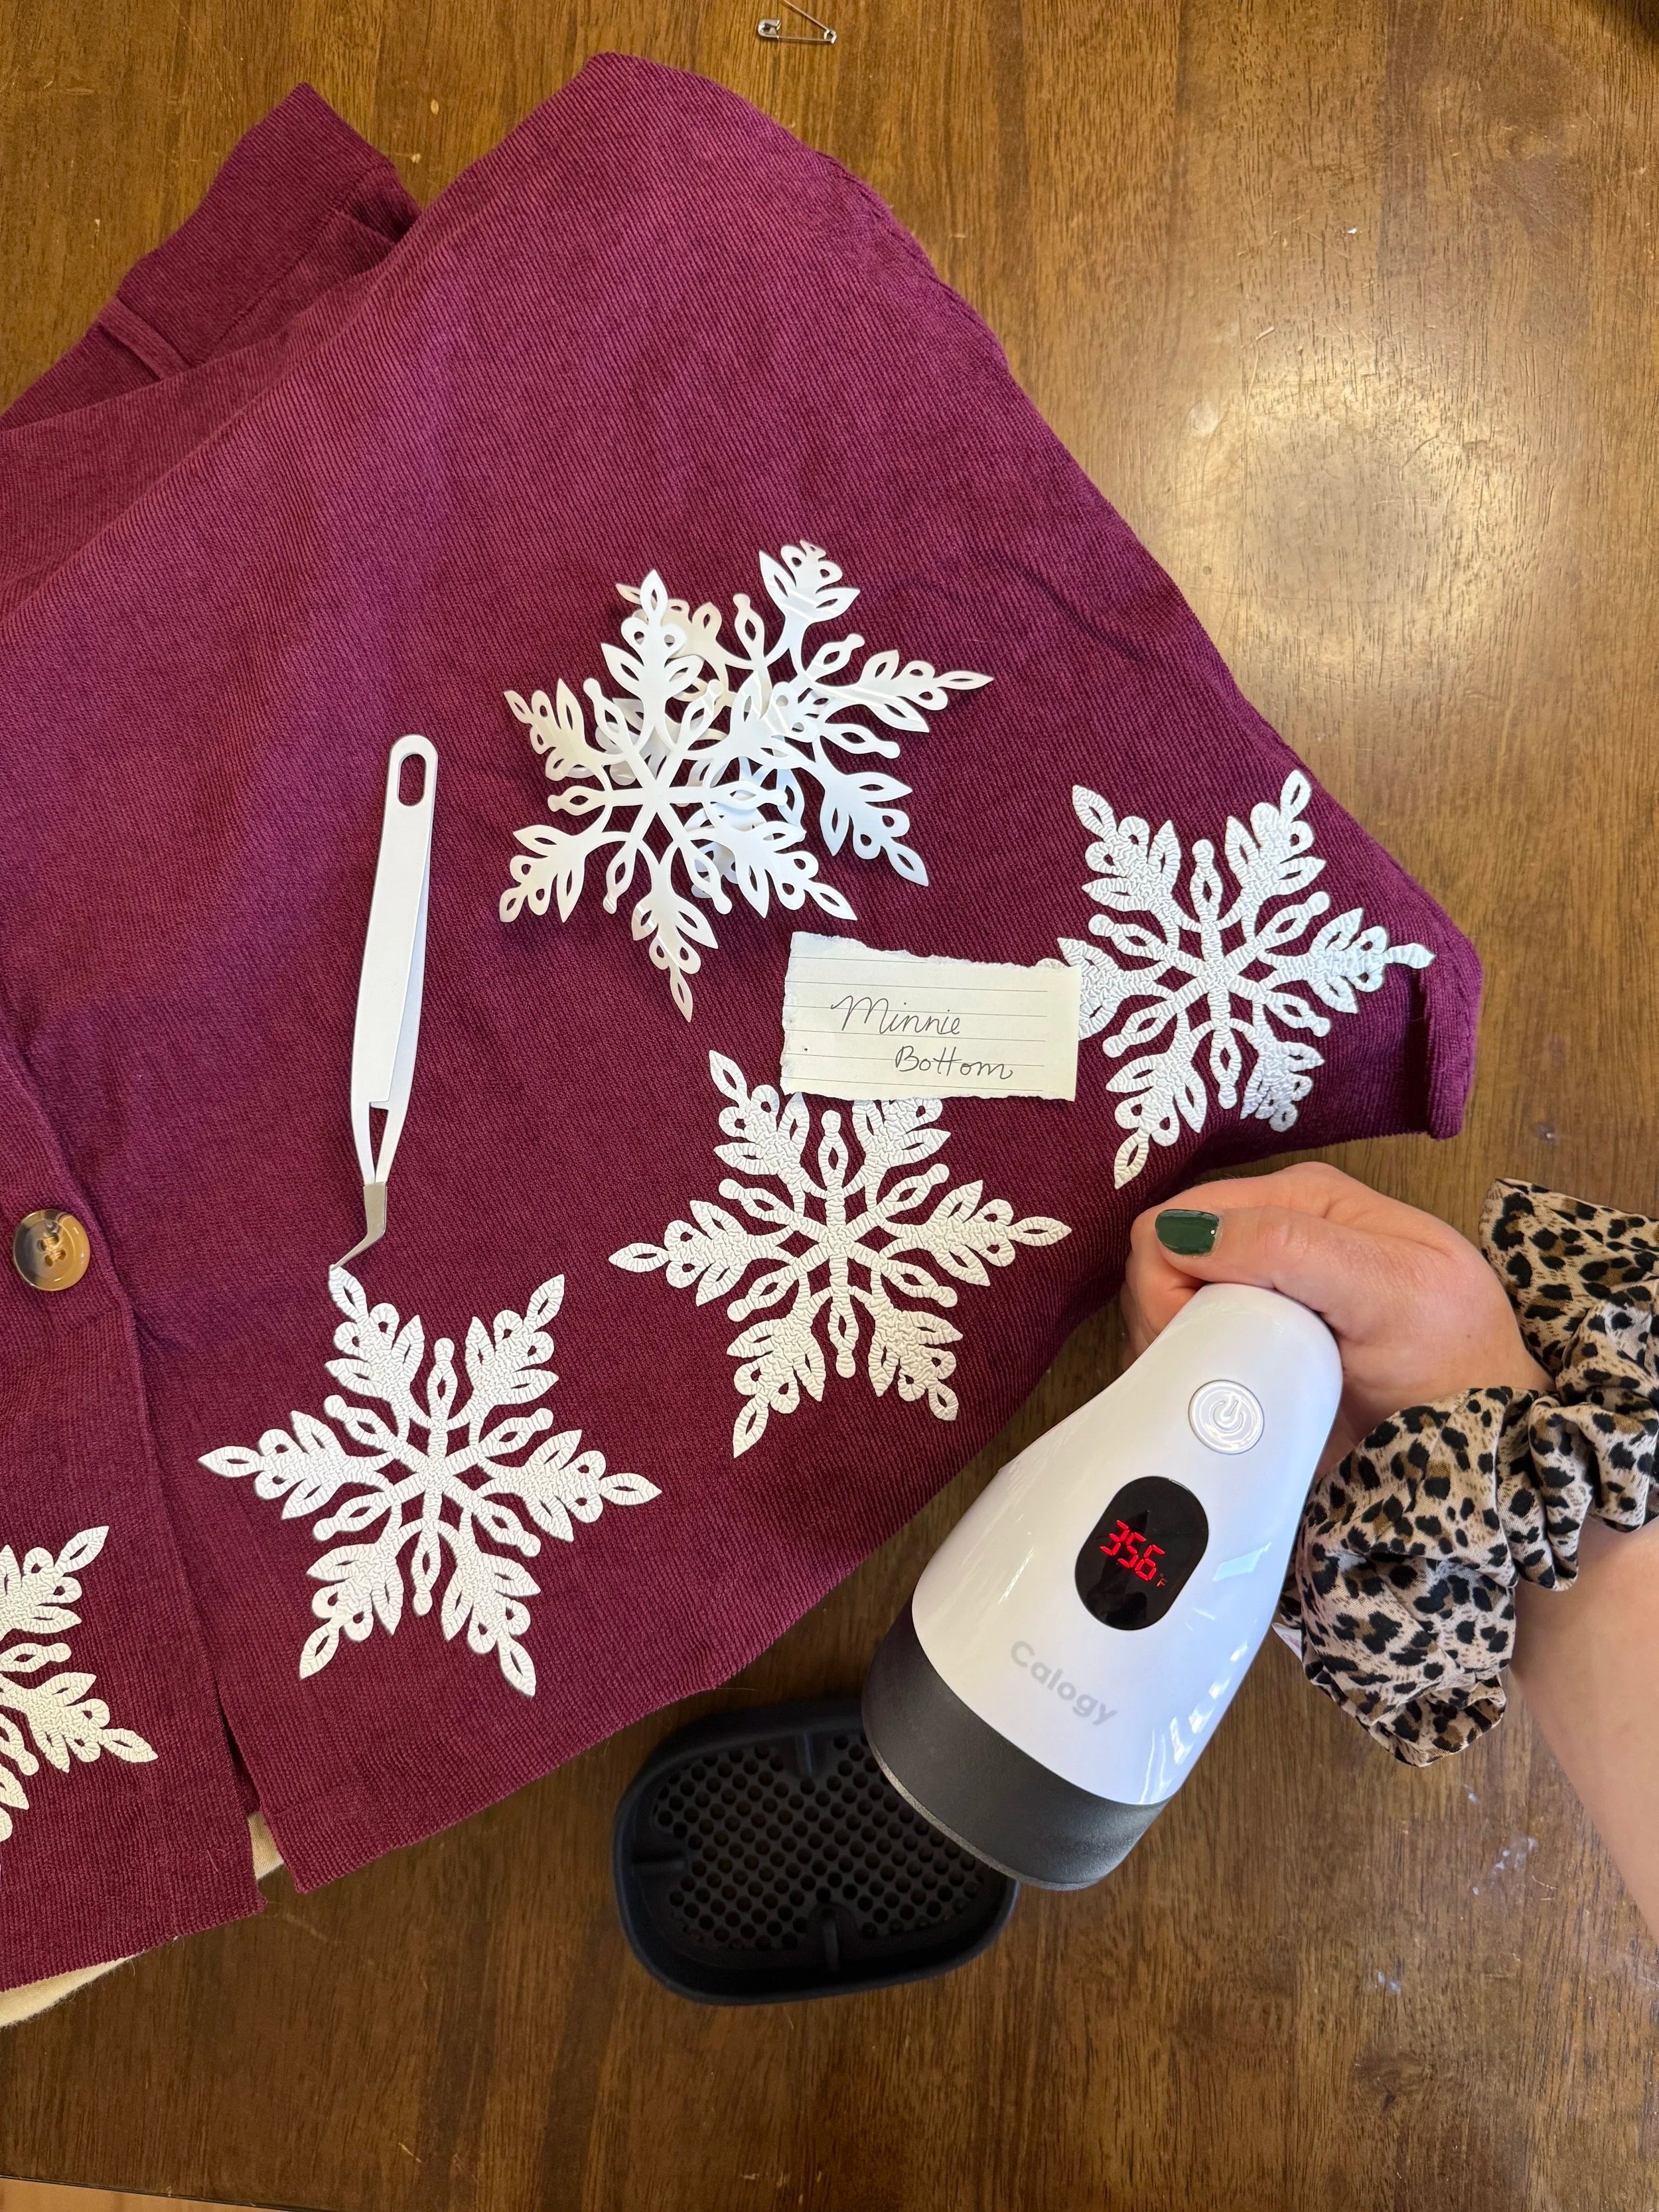
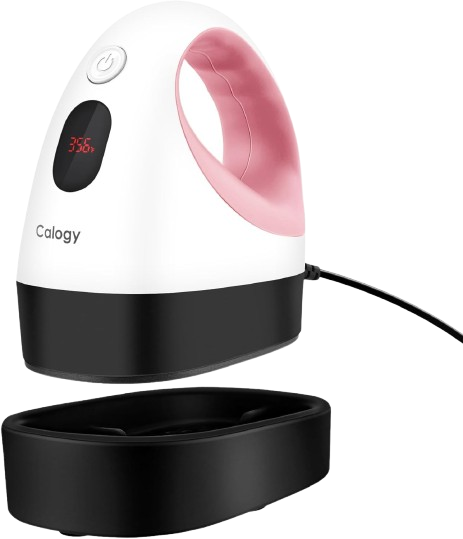
Heat Press Tips
I used a mini heat press, which worked perfectly for this project. It’s small, powerful, and easy to control, especially for detailed vinyl placement. It also has an automatic shut-off feature and takes up much less space than a traditional iron, which made it ideal for small DIY projects like this.
Step 4: Capture the Final Results at Disneyland!
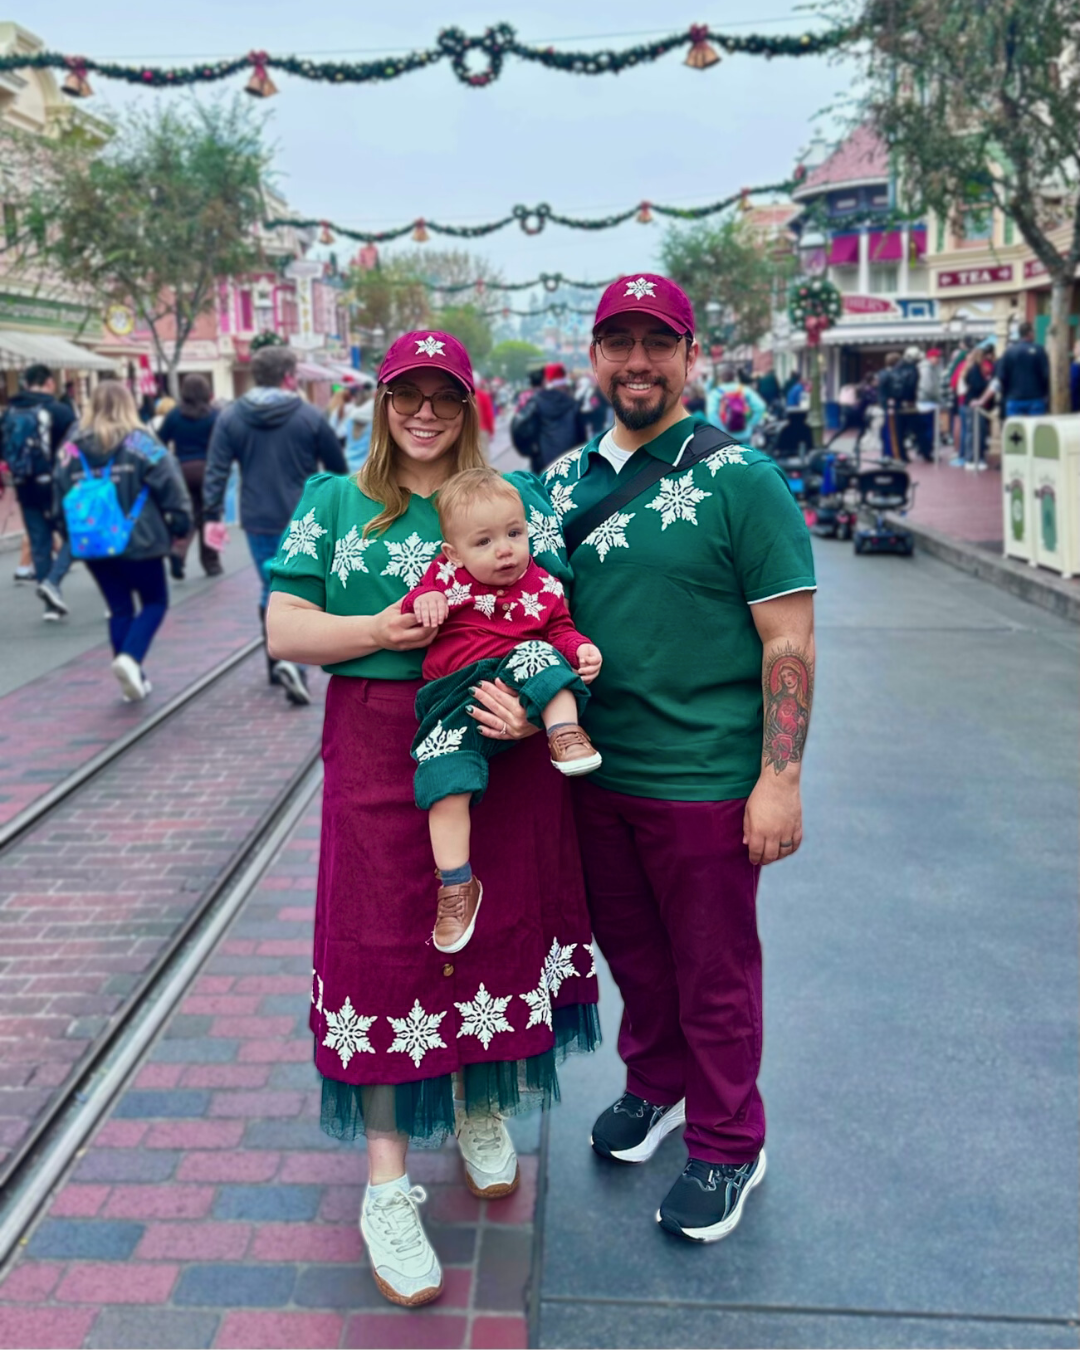
Once everything was finished, we were stopped multiple times by characters and Cast Members who noticed and appreciated the outfits. That was a fun reminder that even simple Disneybounds can make an impression when the details are thoughtful.
The outfits were comfortable enough to wear throughout the day and photographed beautifully for our Christmas cards. If I were to do this again, I wouldn’t change much—this project struck the perfect balance between effort and payoff.
The only item I wish had come in time were Disney ears. I was going to attach ears to our baseball caps and apply small snowflakes to each ear instead of in the center of the cap.
Tips for Creating Your Disneybound
Stick to one strong design element and repeat it
Prioritize comfort, especially for long park days
Don’t overthink perfection—small imperfections won’t be noticeable
Use this process as a template and customize colors or patterns
Whether you recreate this exact Minnie and Mickey Disneybound or use it as inspiration for your own holiday look, this project proves that Disneybounding can be simple, wearable, and meaningful.