DIY GUIDE: Gel Nails at Home on a Budget

If you’re comfortable with press-ons but have never done gel nails at home, you’ll easily complete at-home gel nails with this guide. It will walk you through the exact beginner process I wish I had.
When I first started DIY-ing gel nails, I was moving through a challenging period and trying to stay connected to the version of myself that felt confident and put-together — without spending $70 to $150 at the salon every few weeks.
This guide is designed for true beginners who want clarity, confidence, and a process that works.
If you’re wondering, are at-home gel nails are worth it, I wrote out all my thoughts in this blog:
Why I Made this Guide
Feel free to skip to the video linked below or the written out instructions in the blog.
My first DIY gel manicure took nearly four hours. I grabbed the wrong bottle more than once, I rushed prep, I underestimated the curing process, and I didn’t realize how much technique mattered. But I learned quickly. Once you understand the sequence — prep, shape, wash, dehydrate, base coat, color, optional pearlescent or stickers, then topcoat — the entire process becomes predictable and satisfying.
Major Cost Savings
Your full beginner setup costs around $130, which covers multiple sets. After your first few uses, each manicure averages $25 compared to $70–150 per salon visit.
You’ll Still Feel Polished and Put-Together
If you enjoy having clean, glossy, durable nails, DIY gel lets you keep that look even when life is chaotic or finances are tight.
Video to Watch Before Starting
If you like to see things visually, you can also watch this Instagram reel showing this exact routine while following along with the blog.
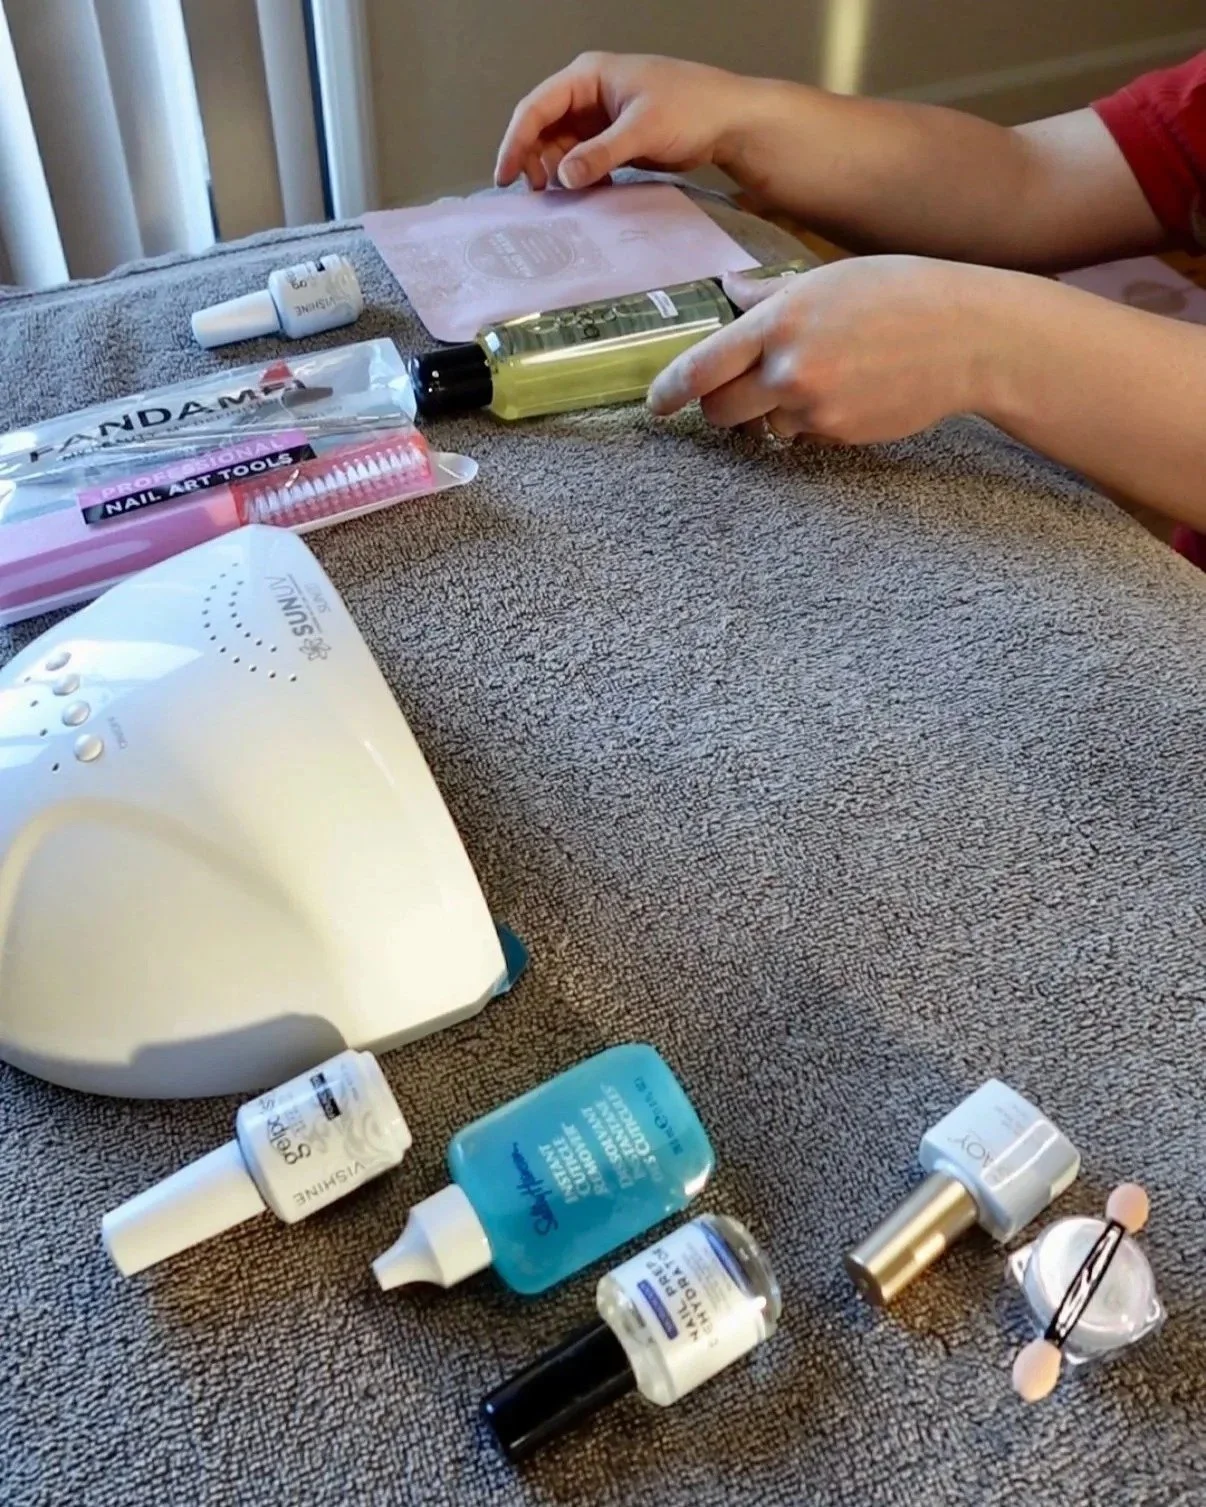
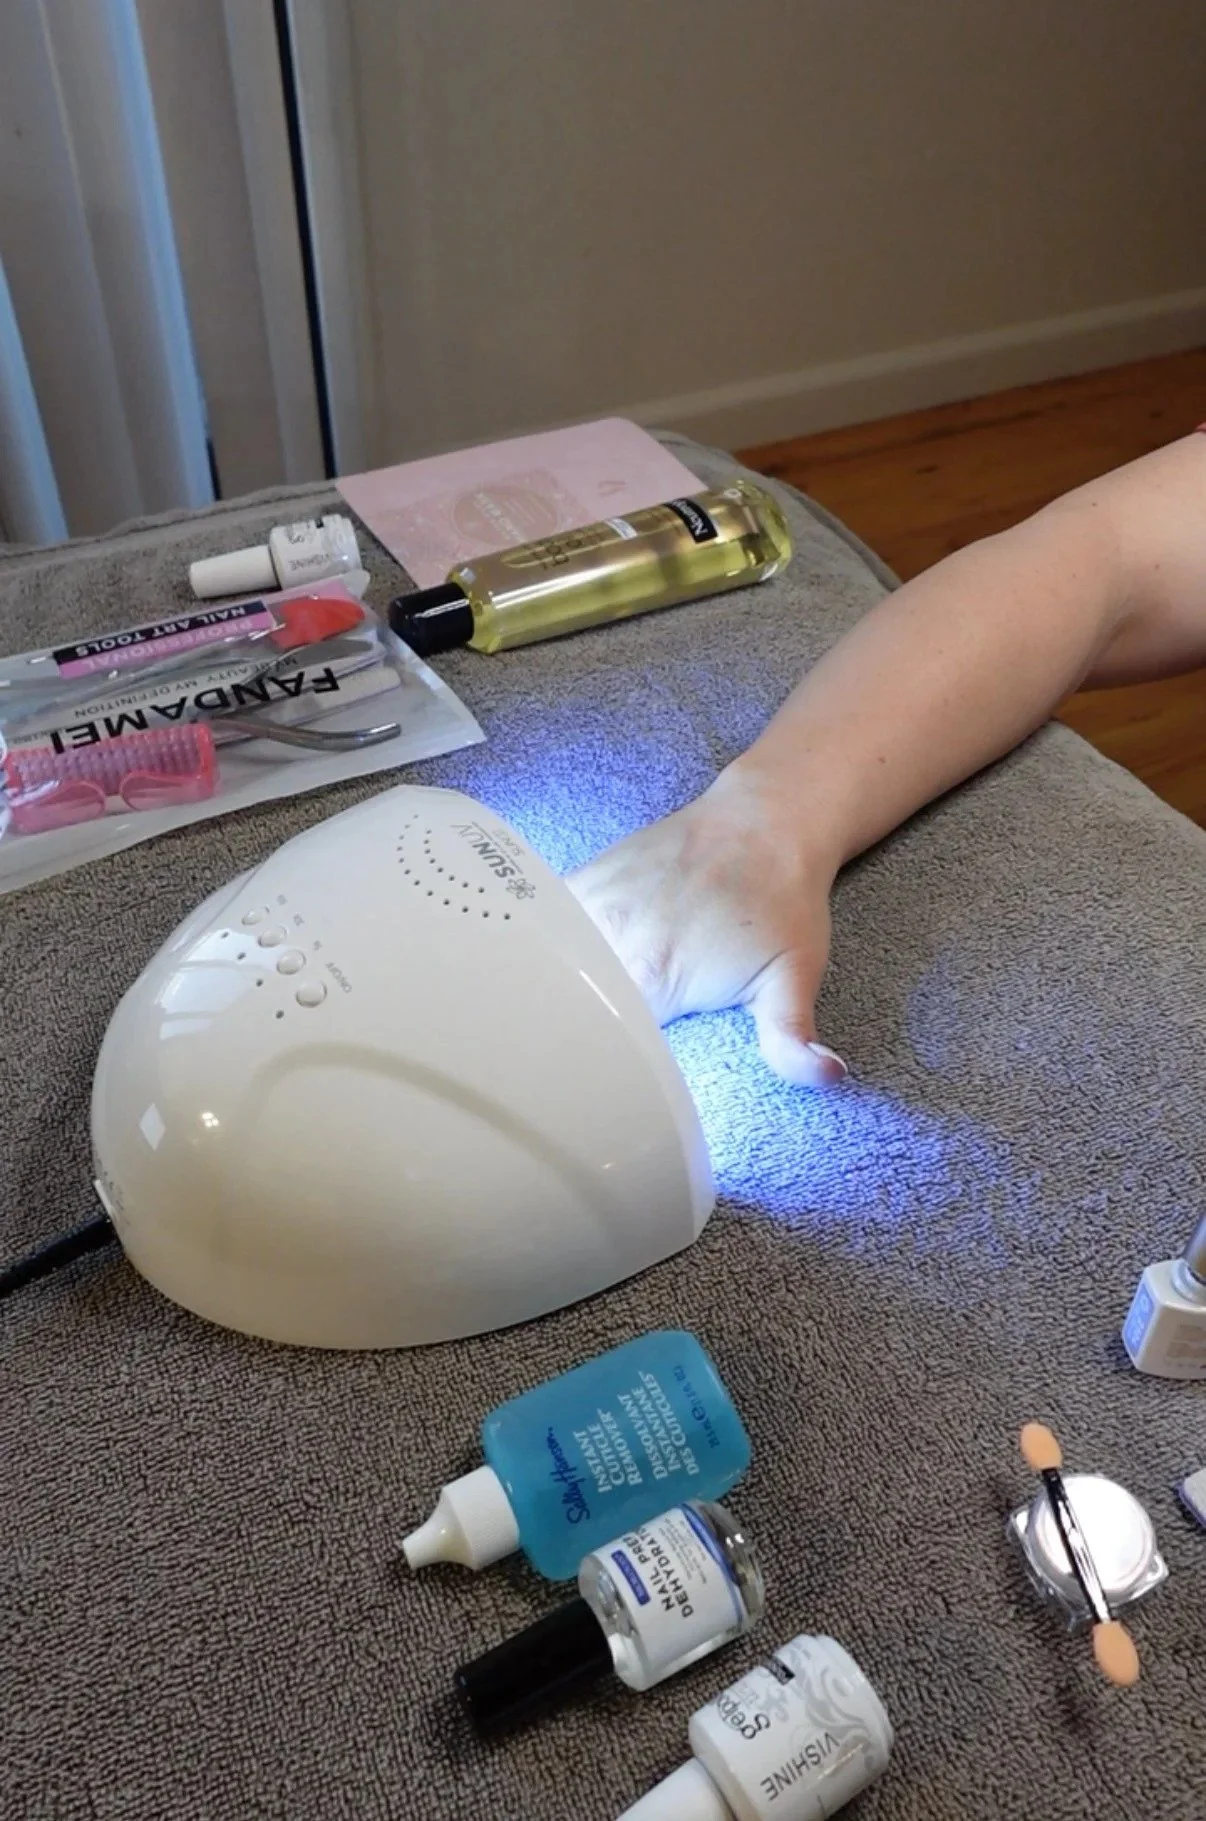
What You Need to Get Started
Step-by-Step: Your First Gel Nail Set at Home
This is the exact order beginners should follow.
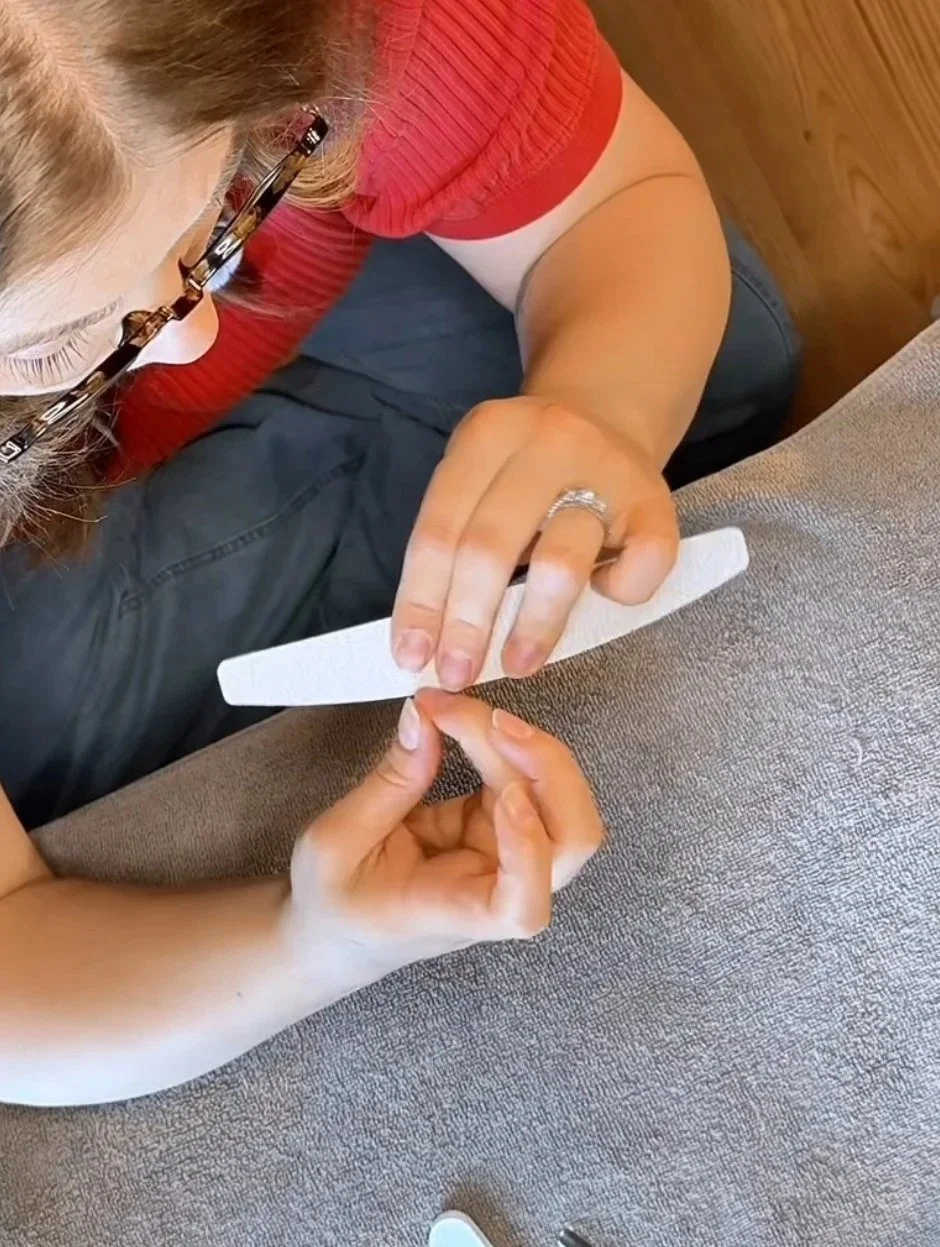
1. Prep and Shape the Nails
Trim the nails if needed
File into a simple, manageable shape
Lightly buff the entire nail surface — I buff along a diagonal (top right to bottom left, then top left to bottom right) to create friction ridges
Remove all dust
Why it matters: Buffing creates tiny grooves that help your gel grip the nail plate. This step determines wear time.
2. Remove and Push Back Cuticles
Apply cuticle remover
Gently push back cuticles
Remove dead or loose skin
Ensure nothing remains on the nail plate
Clean cuticles prevent lifting and peeling.
3. Wash and Scrub the Nails
This step is crucial and often skipped.
Use the scrub brush from your kit
Wash nails with warm water
Rinse thoroughly • Dry completely
Leftover debris or product interferes with adhesion.
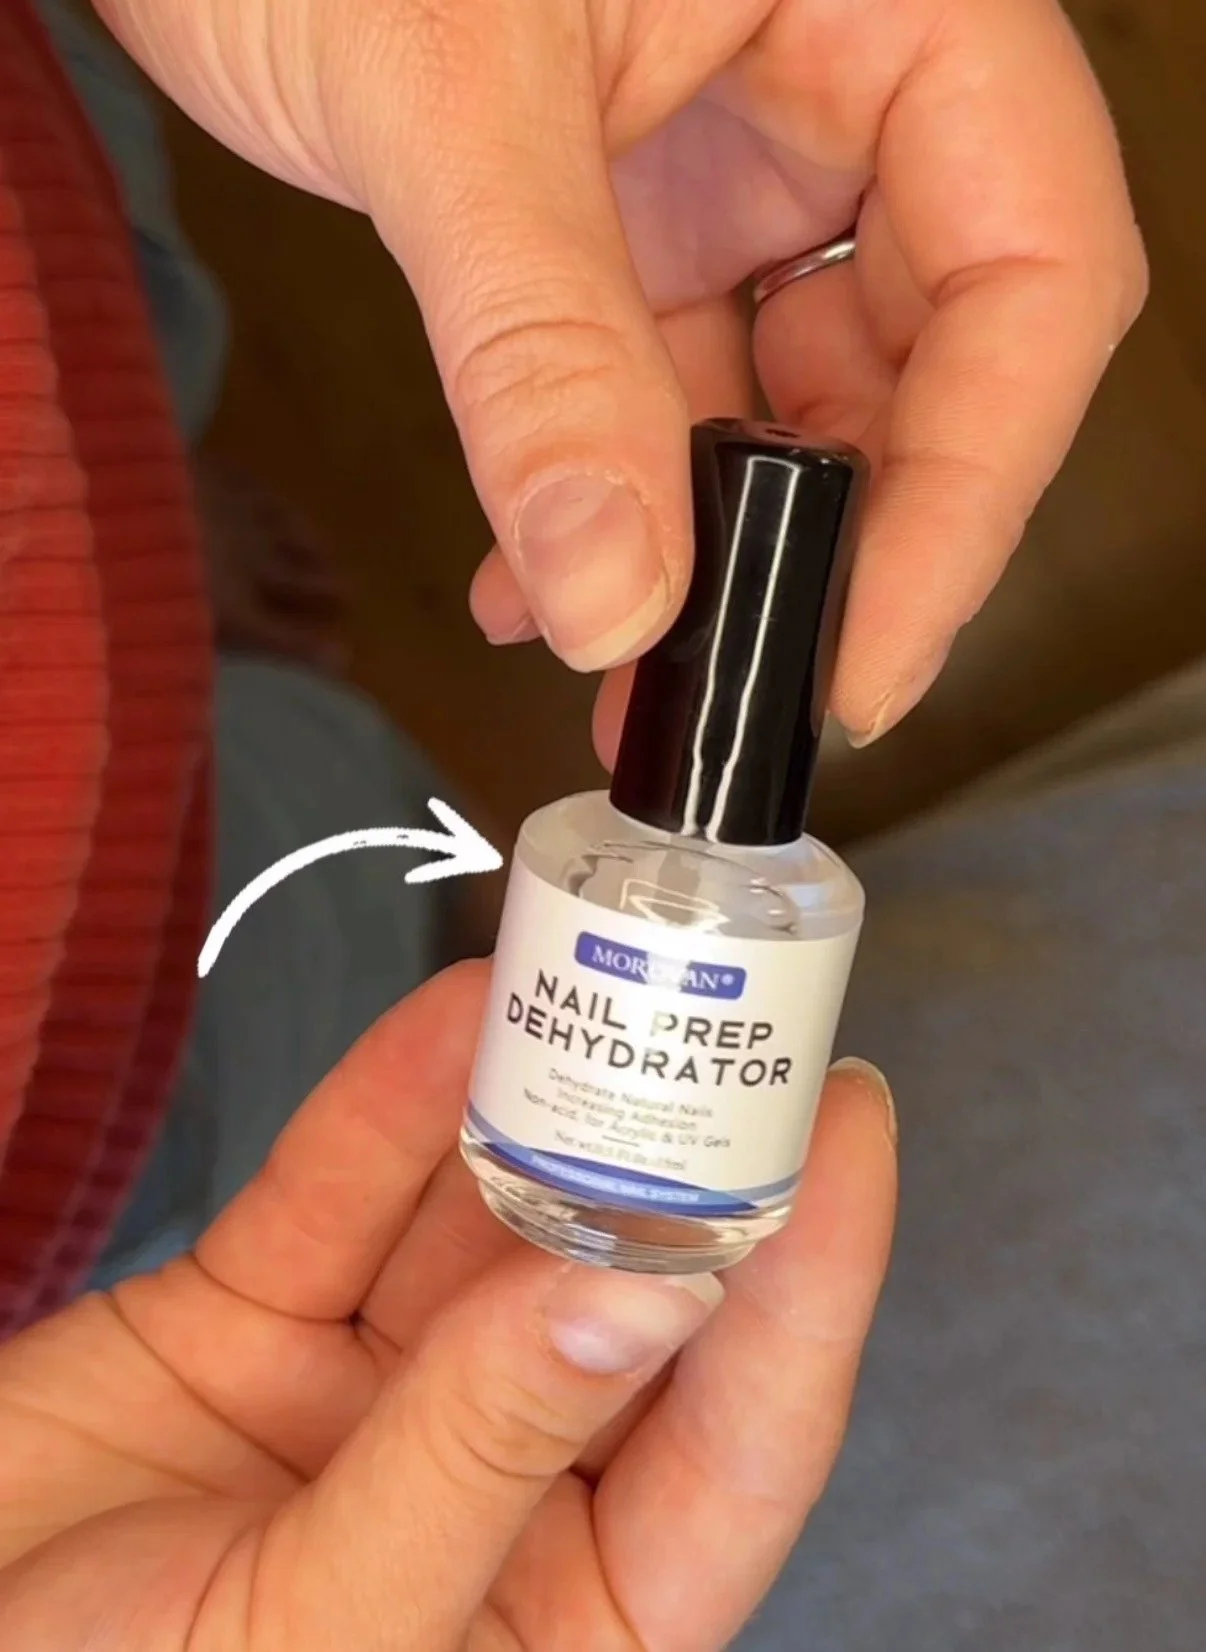
4. Dehydrate the Nail Surface
Apply dehydrator and let it fully dry. This step improves longevity significantly.
5. Apply Base Coat (Your Foundation Layer)
This is the most important part of the entire gel process.
Layer 1: The Ultra-Thin Foundation
Apply a very thin layer of base coat
Create a clean line all around the nail bed that doesn't touch the cuticle or skin
Cure for a full 60 seconds
This is your anchor layer. If it floods or touches skin, your set will peel.
Layer 2: Building Strength
After the thin foundation is cured, add slightly thicker base coat layers
Add as many layers as needed for strength
Work slowly — thicker layers in one curing round are more likely to flood onto the skin
Cure each layer for at least 60 seconds
I build up to a medium thickness because I use my hands constantly as a mom and need durability. I do 60 seconds for each cure round and end with a full 60-second cure on each hand.
Heat Spike Tip
If you feel heat during curing:
Remove your hand
Let it cool for a few seconds
Place it back in to finish
Just make sure your total cure time adds up to at least 60 seconds.
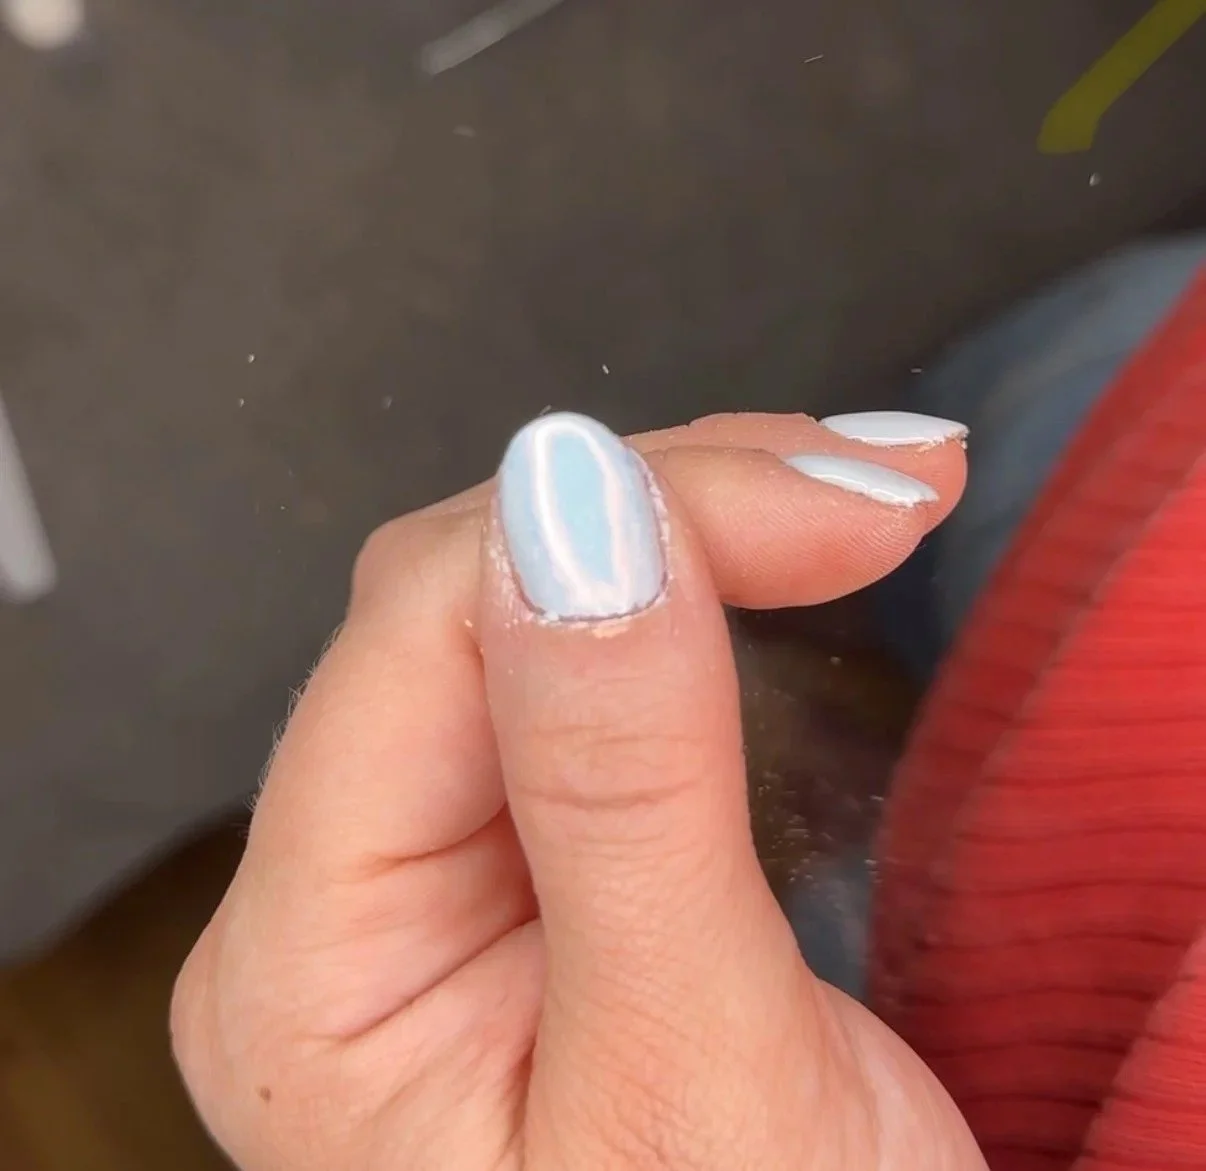
6. Apply Color (2–3 Thin Coats)
Apply thin, even layers
Cure each layer for 60+ seconds
Add a final full cure once you like the opacity
Thin layers prevent wrinkling and bubbling.
Optional: Add Pearlescent Powder (Best for Set 2–3)
Cure your final color coat
Rub pearlescent powder over the cured color
Cure the pearlescent layer in the lamp
Add topcoat
Cure for 60 seconds
This prevents pearlescent particles from mixing into your topcoat.
Optional: Add Stickers (Best for Set 3–4)
Apply a very thin topcoat layer
Semi-cure for ~10 seconds
Place the sticker with tweezers and ensure it is flat
Apply a full topcoat layer
Cure for 60 seconds
This prevents air bubbles and lifted edges.
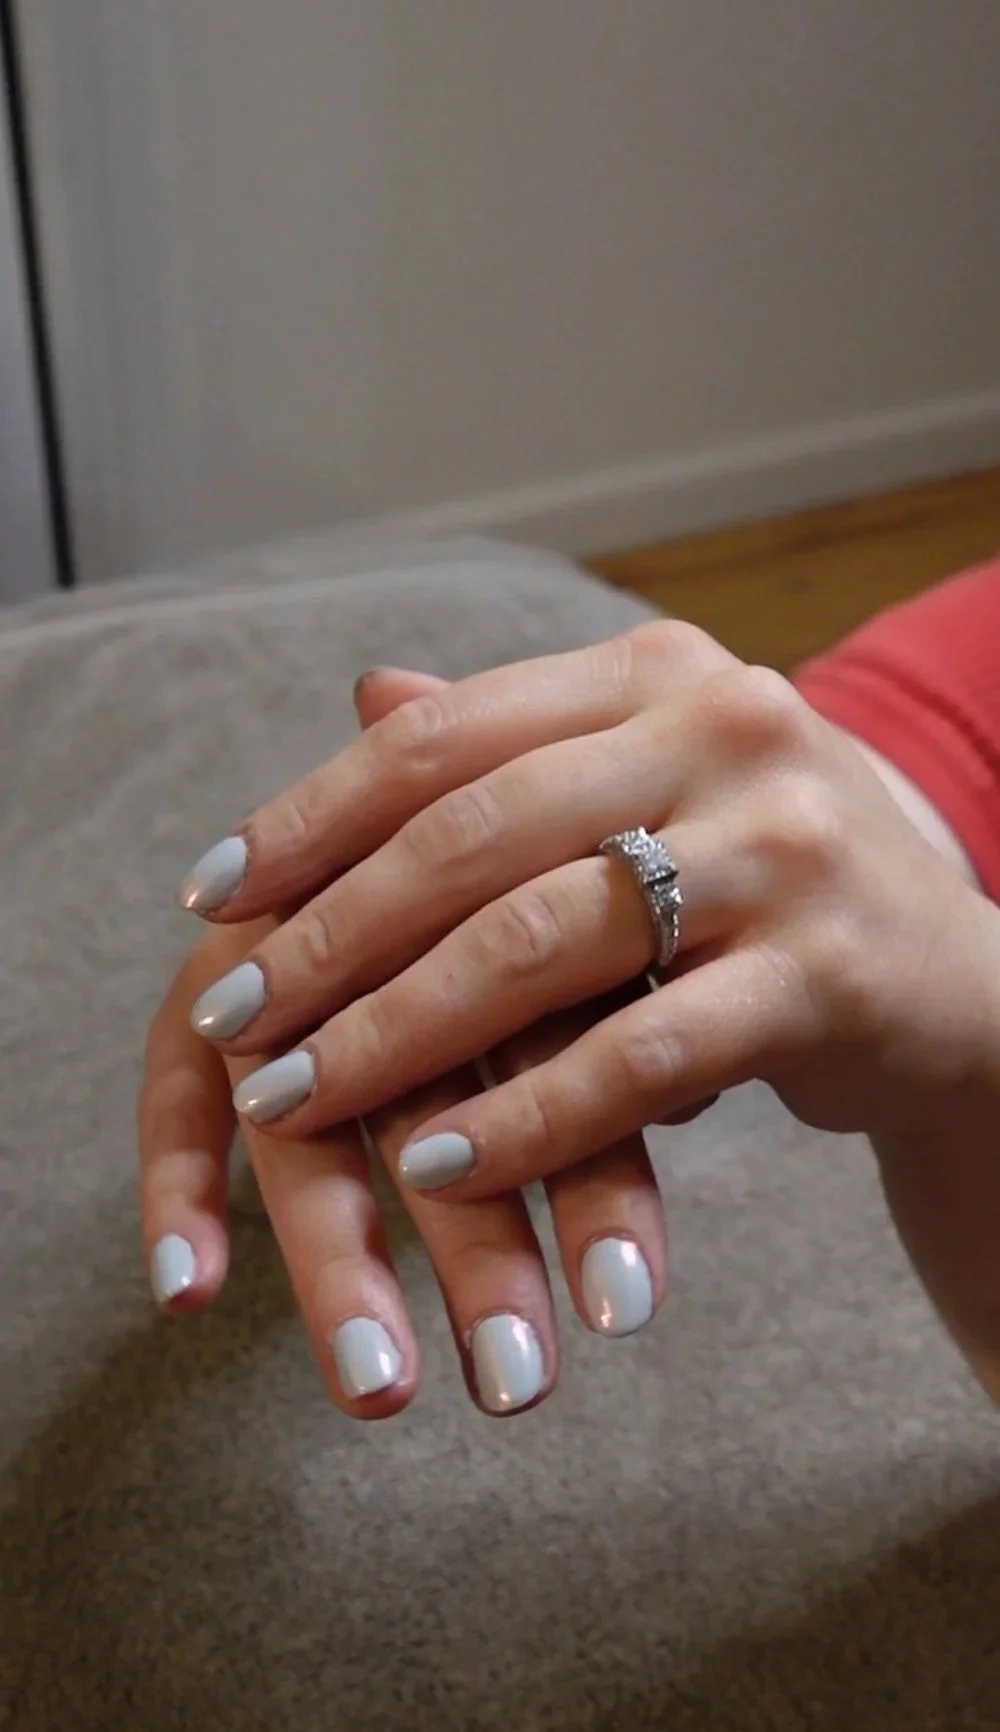
7. Apply the Topcoat (Final Seal)
Apply 1–2 layers
For the final layer: cap the free edge by dragging the brush across the tip of the nail with a very small amount of product
Cure each layer for 60+ seconds
Finish with one final 60-second cure
This seals your design, adds shine, and protects your set.
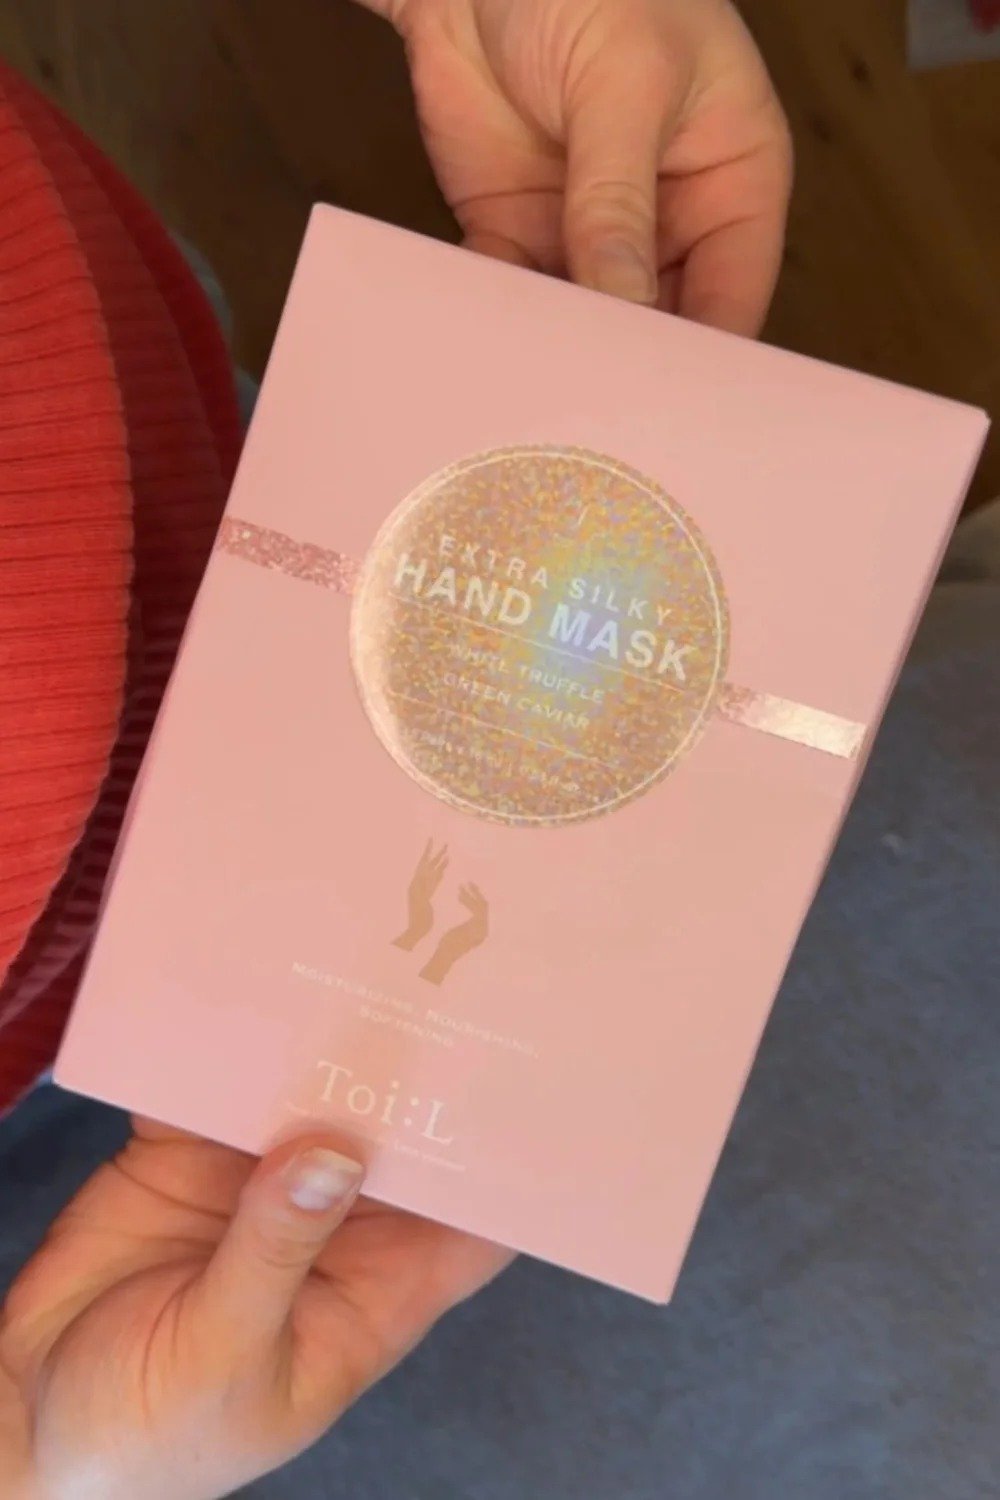
Post-Cure Pampering: Hand Mask + Oil or Cream
After your topcoat is fully cured, pamper your hands the way a salon would. Your hands have done a lot of work to get here, so give them a moment to recover.
1. Apply a Hand Mask
Slip on your hand masks and leave them on for the full recommended time. You can stay seated and relax, or you can get things done — wash dishes, vacuum, start cooking. The masks stay on securely.
2. Seal in Moisture With Oil or Cream
After removing the masks, finish with a skin treatment oil or a thick hand cream. This gives your hands a nourished, post-salon finish.
My personal routine: I really like the hand masks I linked for the price, and sealing everything in with body oil afterward leaves the best result. My hands look and feel like they’ve had a full salon treatment.
Curing Best Practices for Beginners
Every layer should total about 60 seconds of cure time
If heat occurs, cure in short intervals until the full time is reached
Thinner layers cure more evenly
Even cured layers can pick up debris — stay seated and avoid touching things until you finish the topcoat
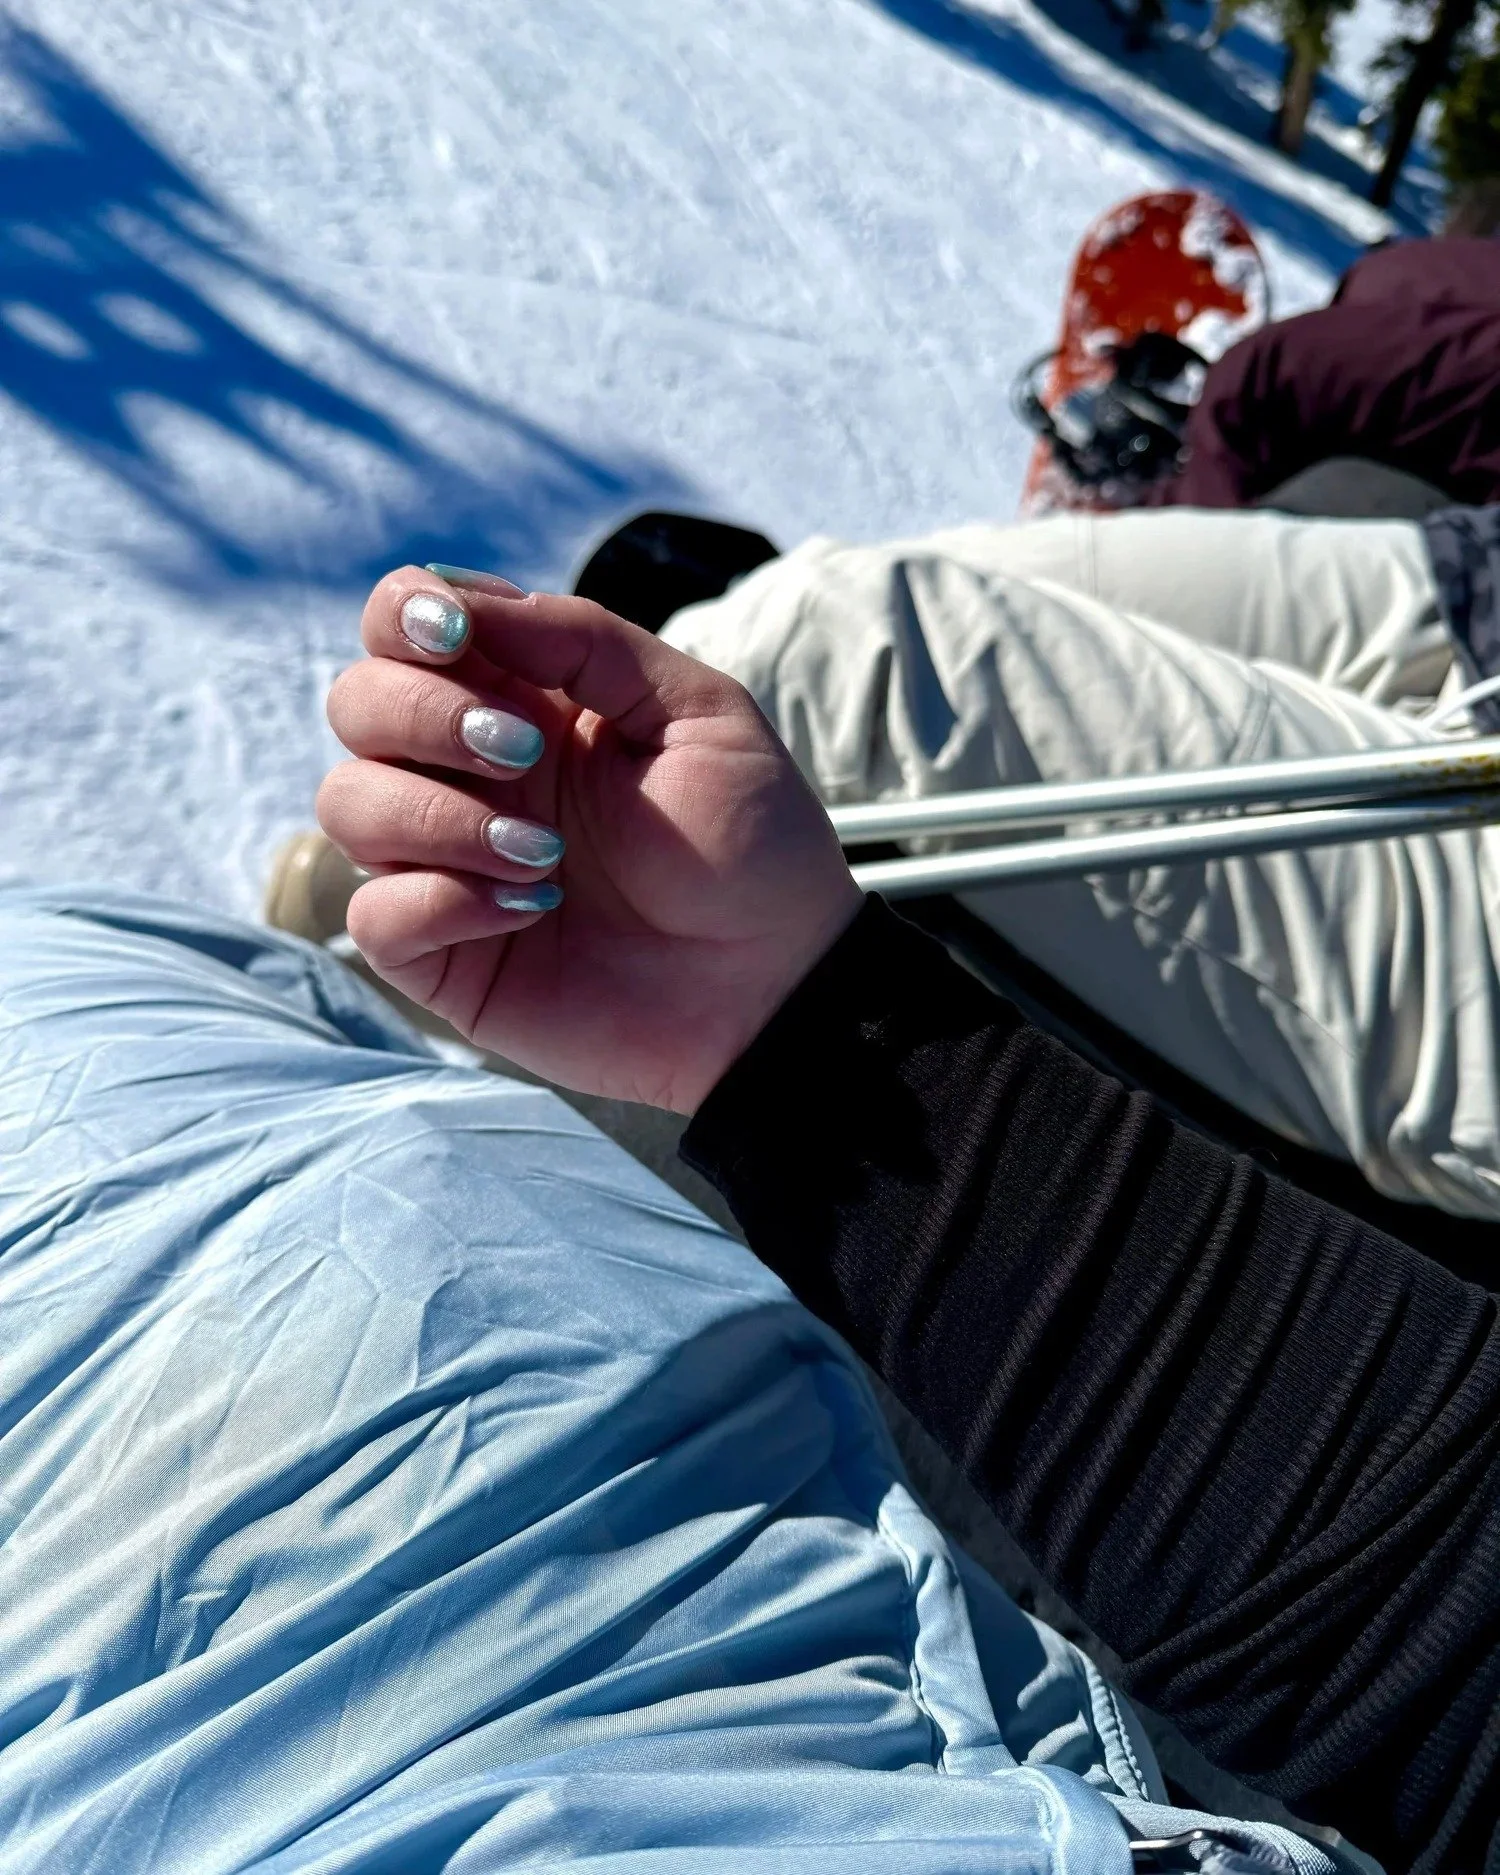
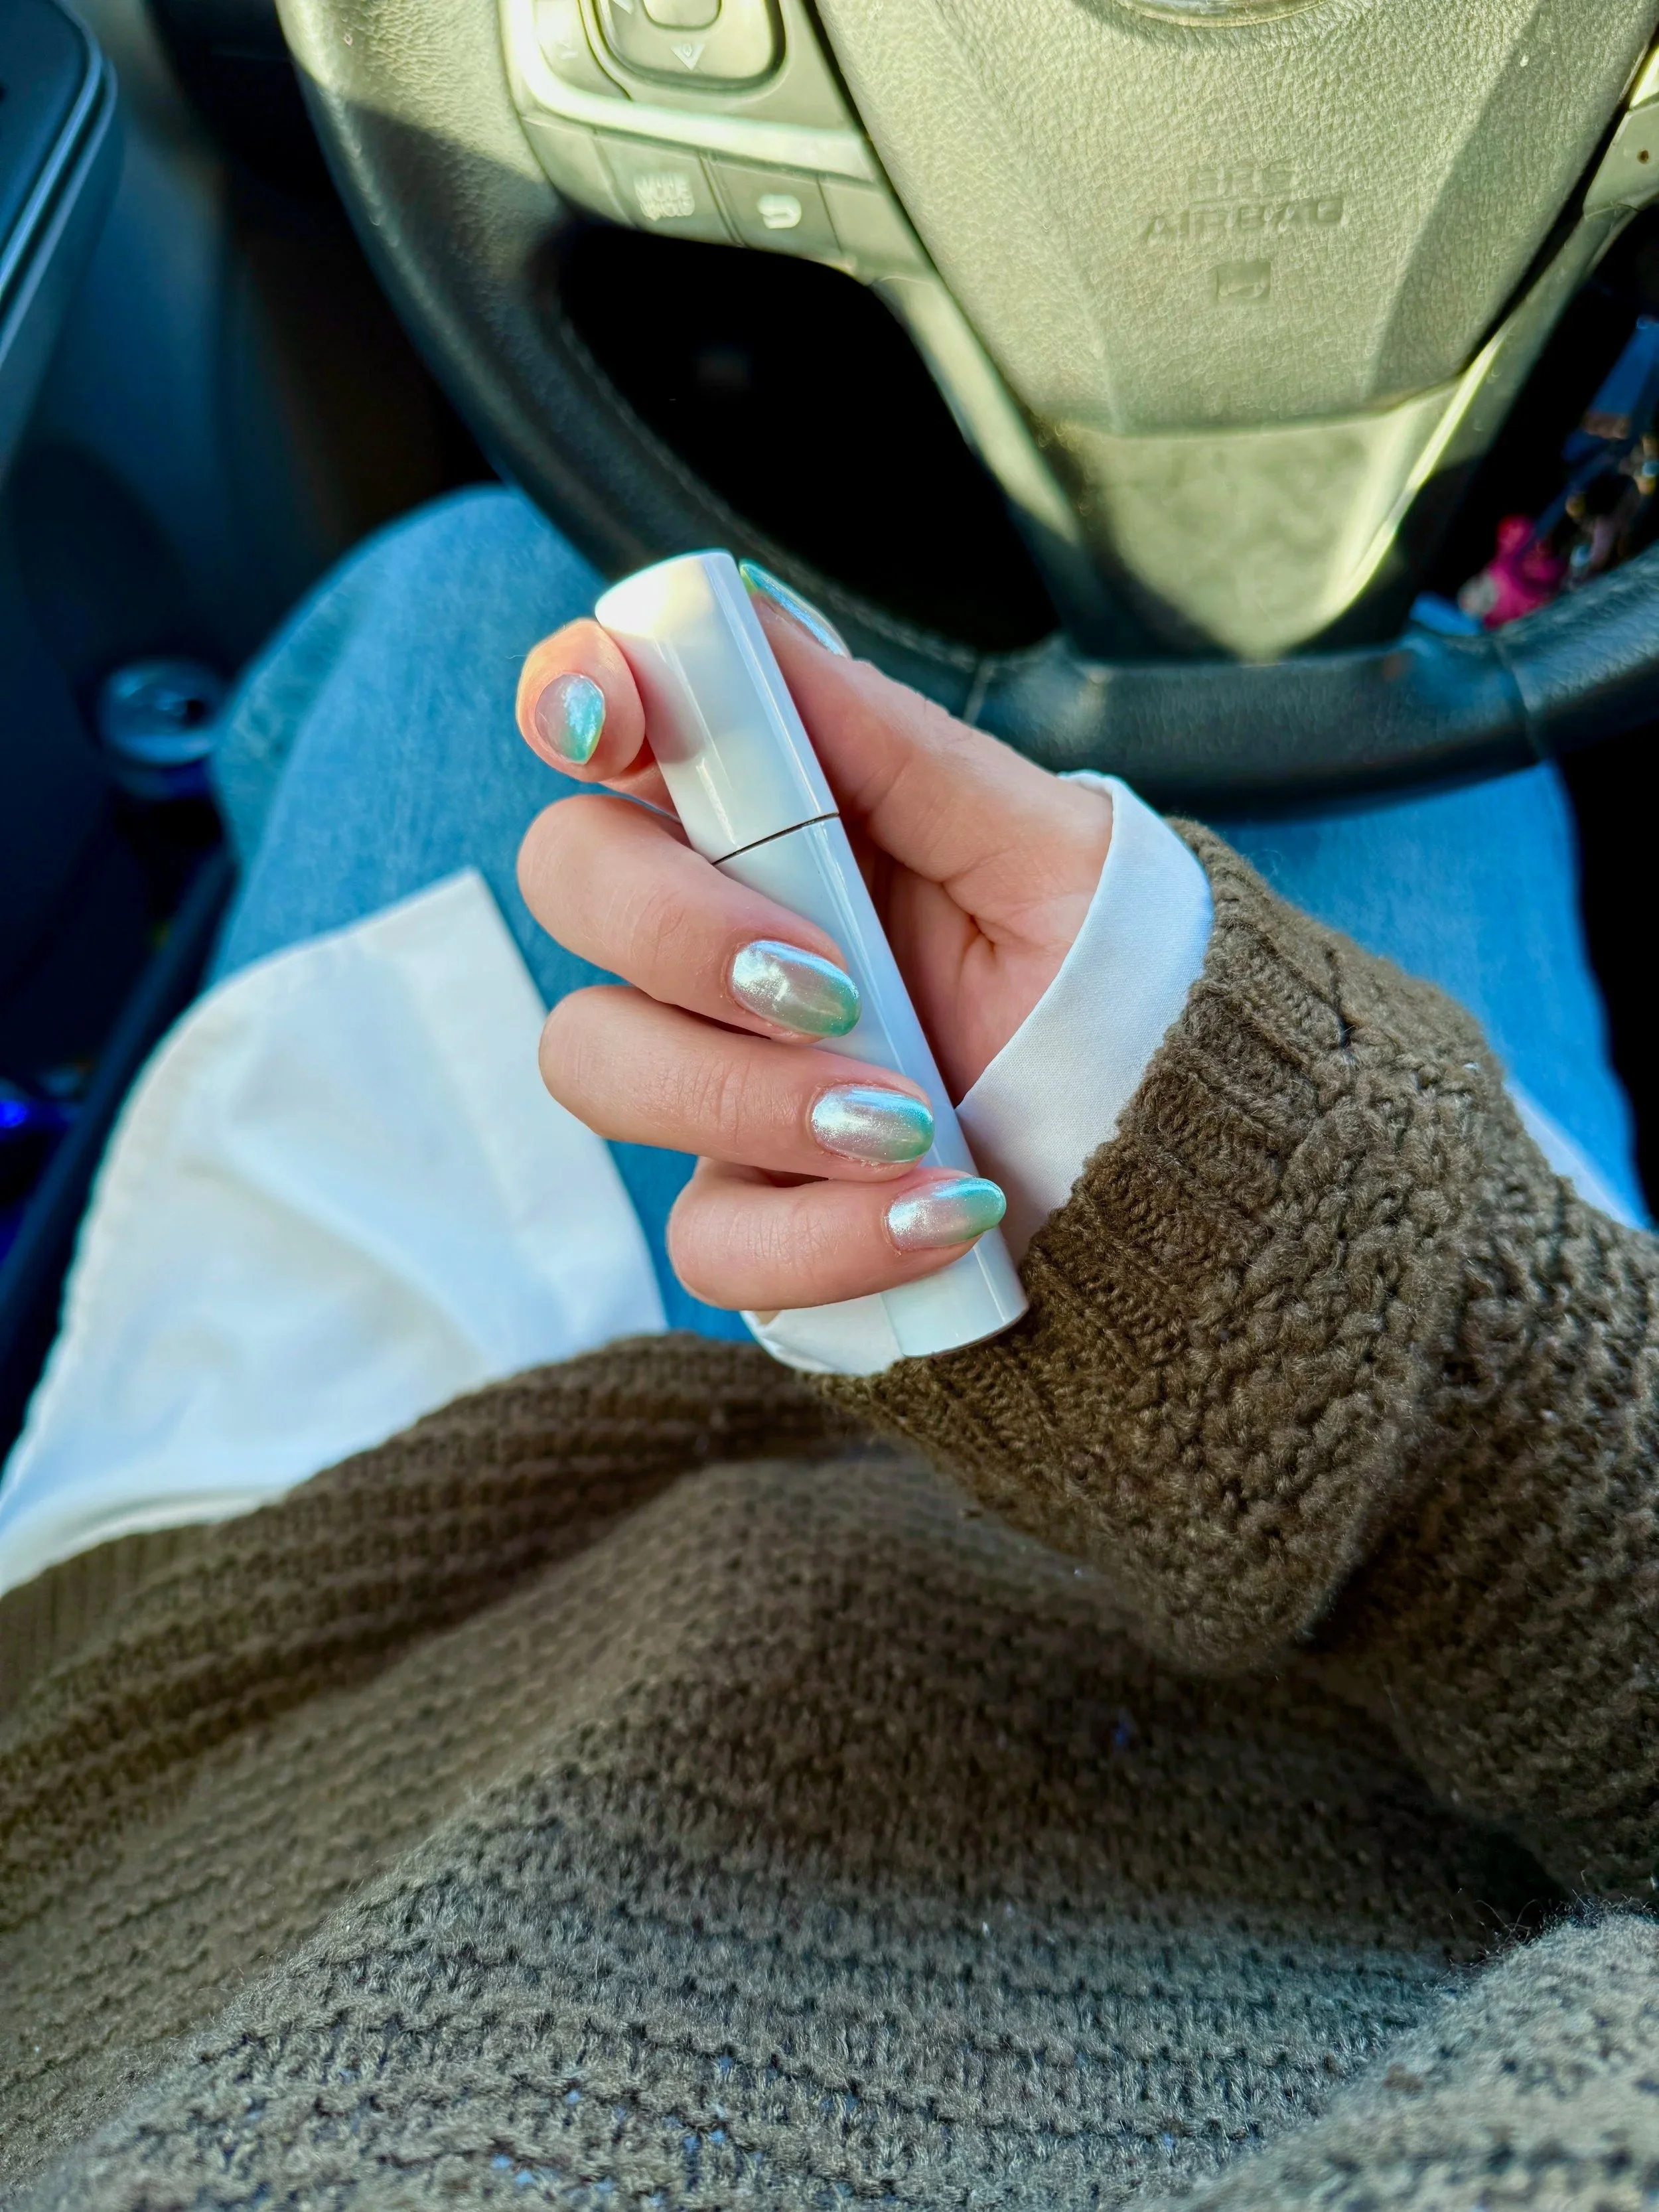
Ombre on my 4th gel nail attempt.
Sticker on my 5th gel nail attempt.
My Best Beginner Tips
Separate your products into each step before you begin — especially base vs. topcoat
Wash nails after buffing and cuticle work
Use cotton pads, not cotton balls with any polish remover
Keep a water bottle nearby
Try to complete the entire process in one sitting
Avoid touching anything between layers
Your first set will feel slow — that’s normal
Watching a movie while doing your nails makes the process smoother
Why You Should Complete Your Entire Set in One Session
Once your nails are buffed and prepped, the surface is ideal for gel adhesion — but it doesn’t stay that way forever.
One time, I thought my lamp broke (it didn’t; I used the wrong cord). I prepped my nails, got interrupted for four hours, then applied base coat later. That set did not last because: • The buffed texture wore down • Natural oils returned to the nail • Normal activity smoothed the grit the gel needs to grip
Beginner rule: Once you buff, shape, clean, wash, and dehydrate your nails, move straight into gel application. Don’t wait hours between steps.
What to Expect From Your First 5 Sets
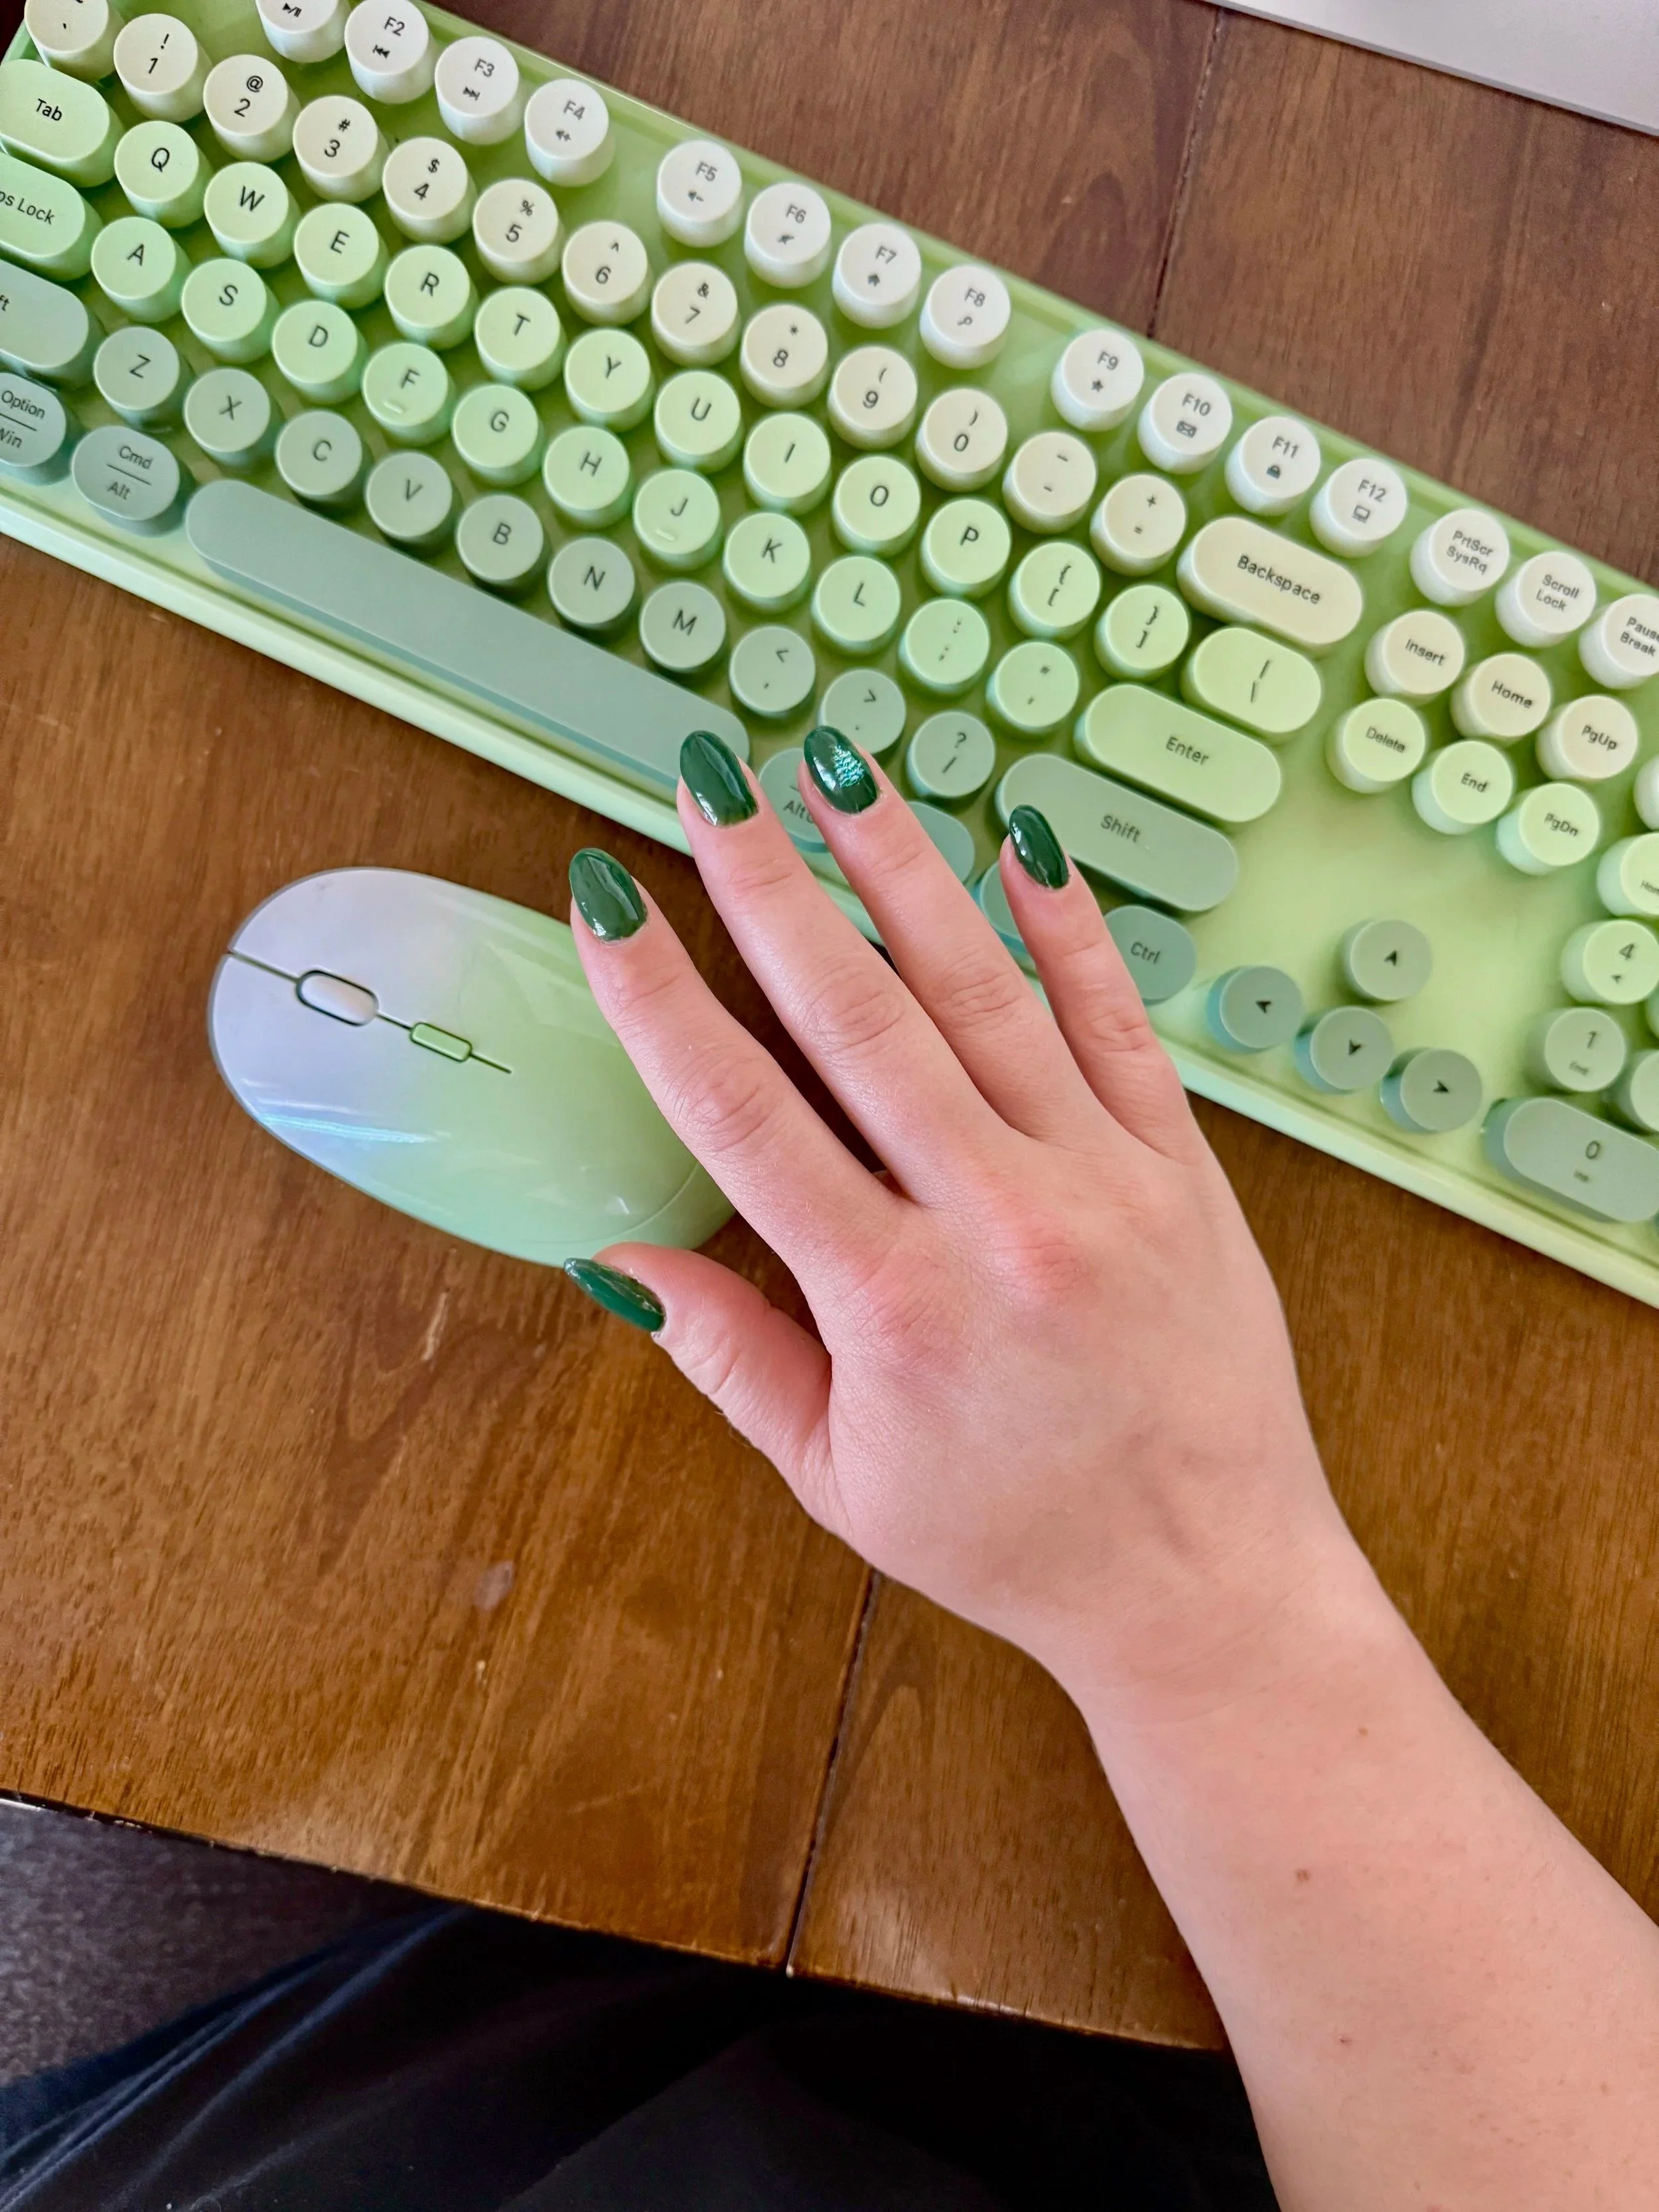
Set 1: 3–4 hours. Mistakes and learning moments. Set 2: 2–3 hours. Cleaner prep and better base control. Set 3: ~2 hours. More confidence and smoother layers. Set 4: 1.5–2 hours. Optional pearlescent and sticker designs feel achievable. Set 5: A solid, consistent result you can trust.
Even as you learn, gel nails outperform traditional polish and press-on glue nails by a mile. No trapped water, no instant lifting, no daily upkeep.
If you want to see what this looks like on my actual hands, here’s that reel again: See my finished gel set on Instagram
Where to Go Once You’re Comfortable: Learn From Professional Creators
This guide is your beginner foundation — written from someone who had to learn everything without knowing the terminology, products, or techniques.
But once you’re comfortable:
Explore nail educators
Try advanced shaping
Learn detailed designs
Experiment with builder gels
Follow creators who specialize in nail art
The creator community will help you grow far beyond the basics.